
Use custom dimensions
Understand how to define, enable, and integrate custom dimensions in FastPix Video Data to capture business-specific analytics, filter insights, and extend tracking beyond standard metrics.
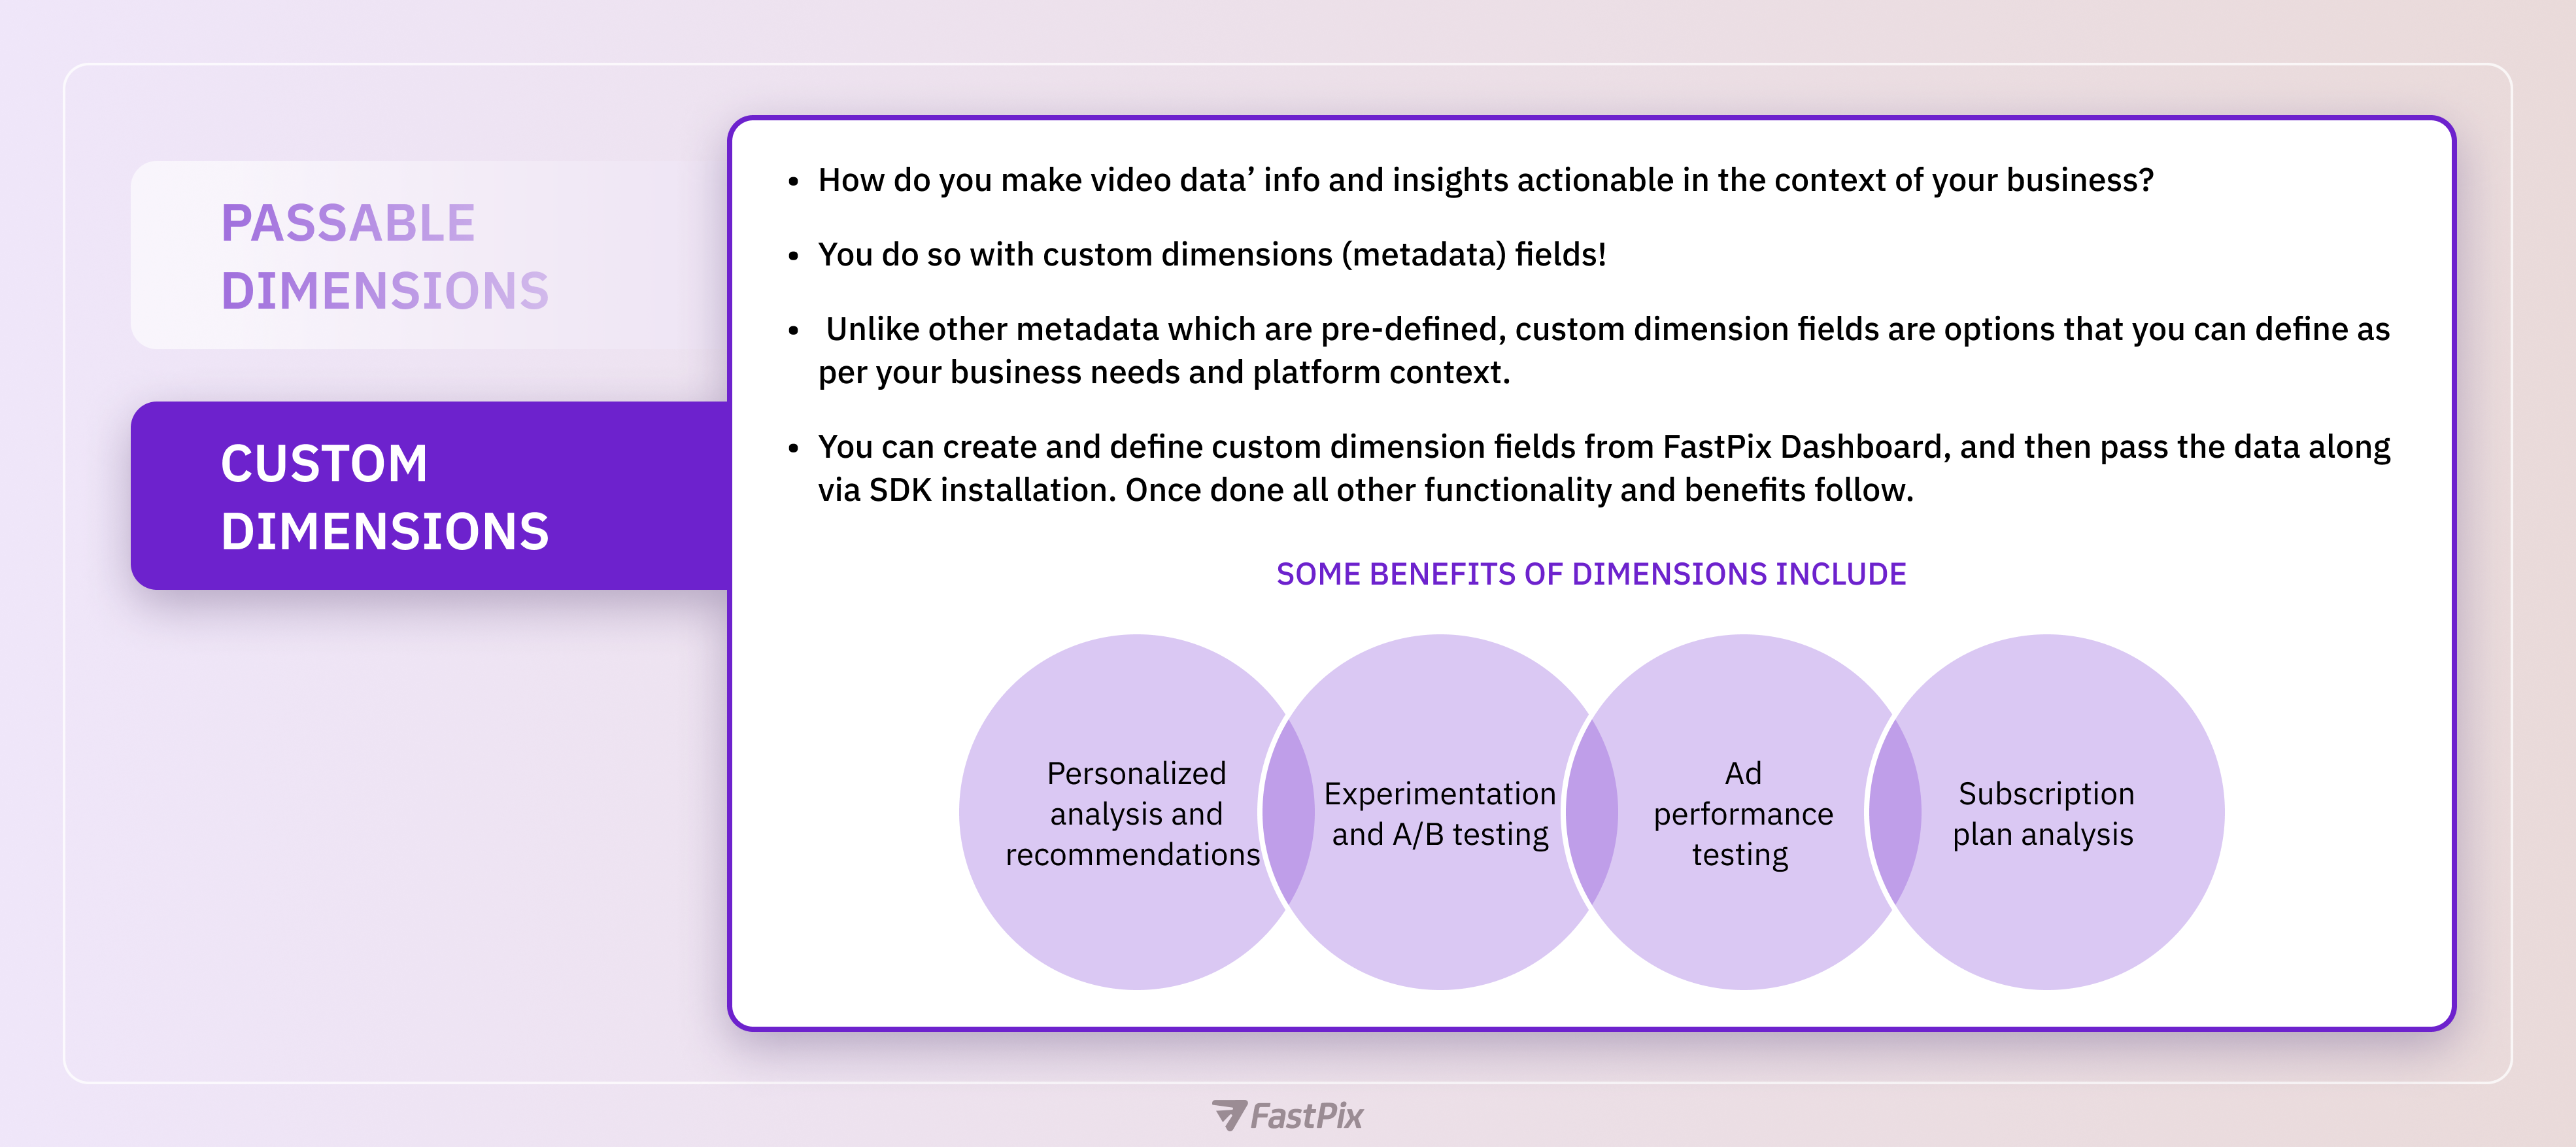
Custom dimensions (metadata) in FastPix allows you to extend beyond the predefined dimensions already available on the platform. These additional dimensions enables you to tailor your analytics to specific use cases relevant to your business, providing deeper insights into your data. By using custom dimensions, you can capture unique information about your audience, interactions, and other relevant metrics that are not covered by standard dimensions.
Enabling custom dimensions
Step 1: Access custom dimensions dashboard
Log into your FastPix dashboard and navigate to the "Settings" section. Click on "Custom Dimensions" to view the available options.
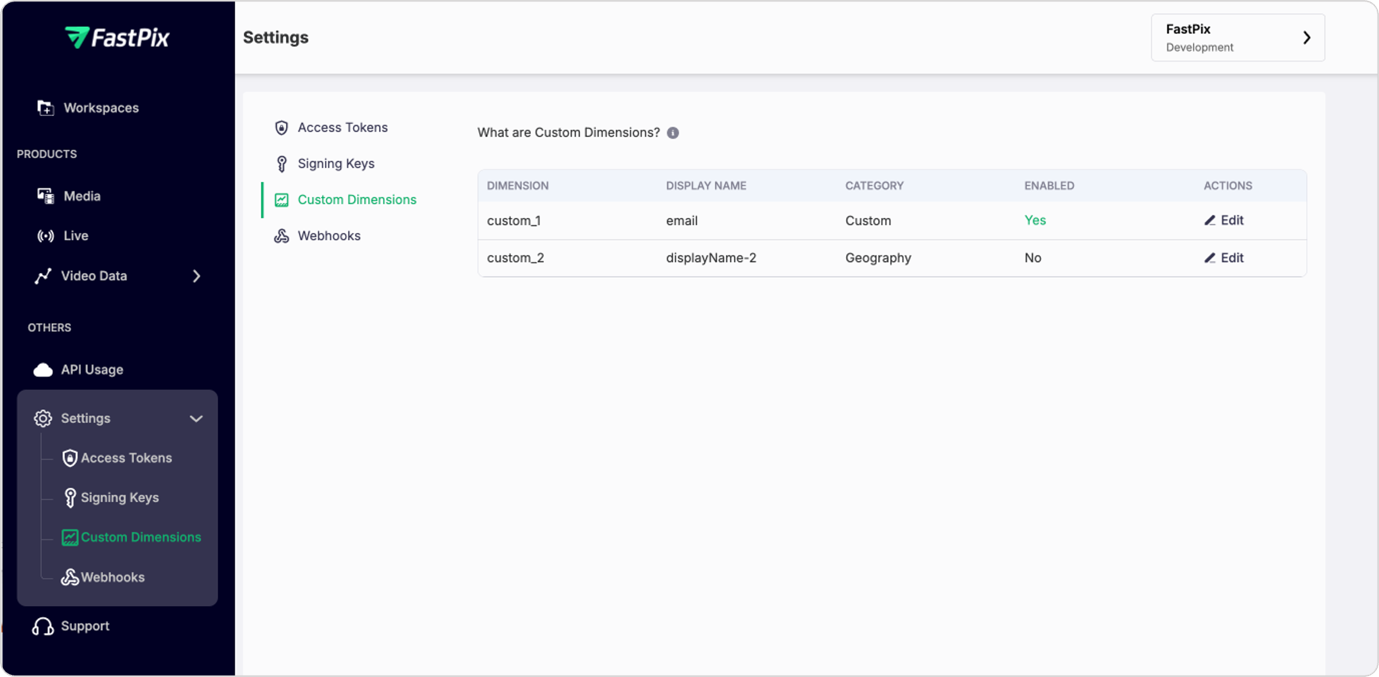
Step 2: Enable dimensions
By default, every user, including those on the free plan, is given two custom dimensions. To enable these dimensions, click "Edit" for each custom field and select "Yes".
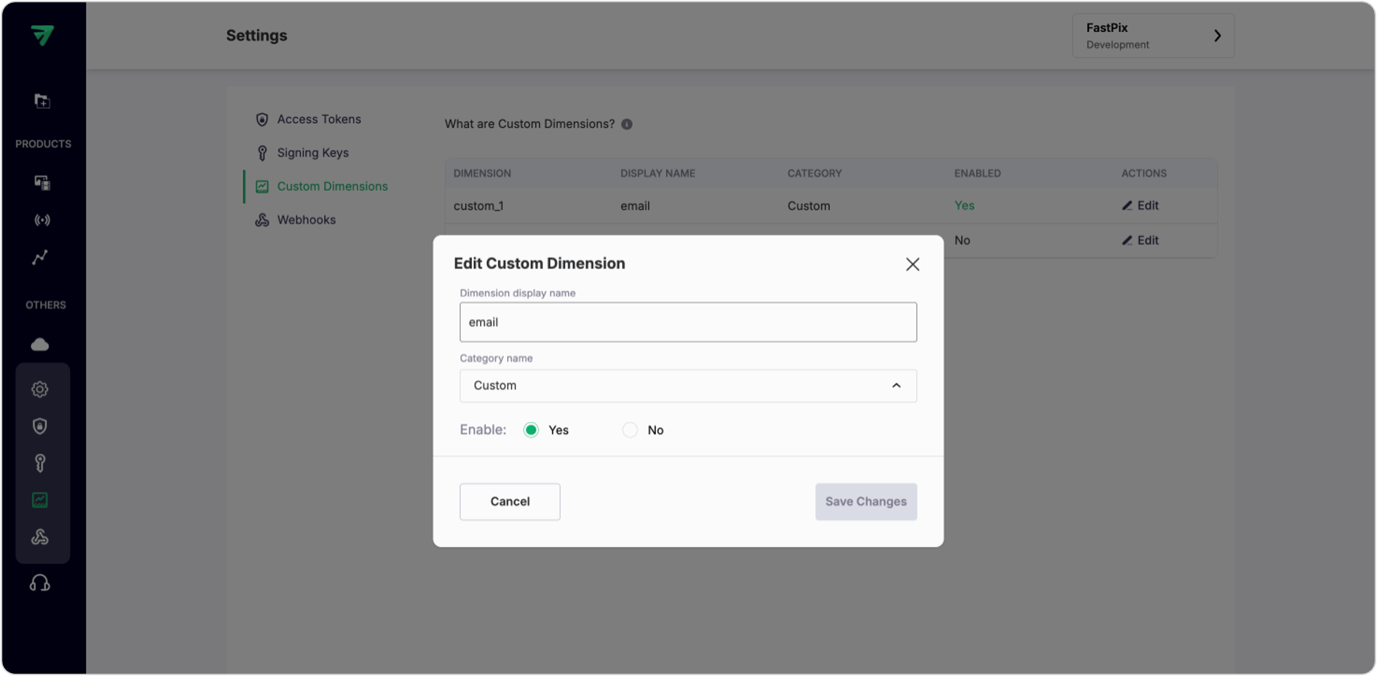
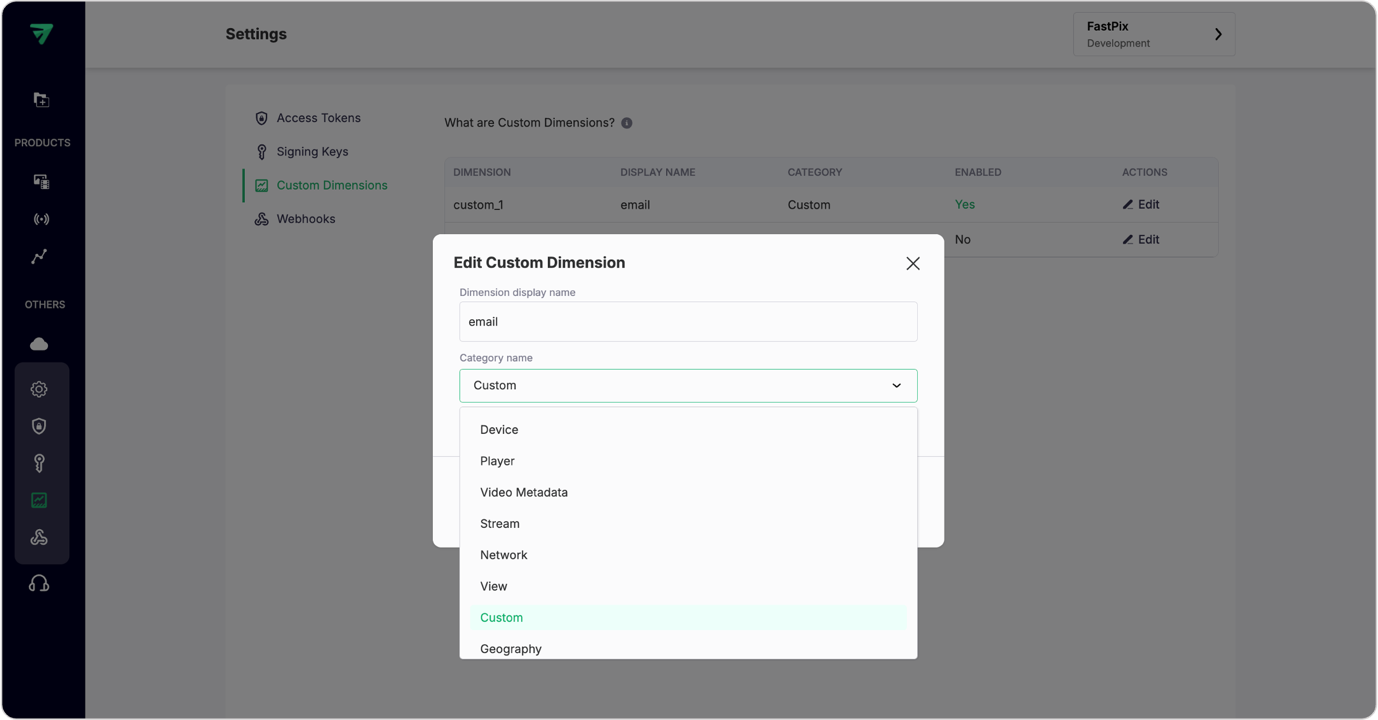
Step 3: Customize display name and category
Edit the display name to suit your needs and select from eight categories (Device, Player, Video Metadata, Custom, etc.) where you want the new custom field to appear.
PLEASE NOTE
After you upgrade to Growth Plan, you will be able to access 10 custom dimensions. See pricing.
Integrate custom dimensions with SDK
To start collecting data for custom dimensions, you must integrate this data into the SDK during setup. This involves sending custom dimension data alongside other metadata. Once this step is completed, FastPix will begin receiving data for these custom dimensions.
Here're examples of adding custom dimensions to Video Data SDK for several players:
// Define user-passable player dimensions
const playerMetadata = {
  workspace_id: "WORKSPACE_KEY", // Mandatory field for FastPix integration, replace with your actual workspace key
  player_name: "PLAYER_NAME", // A unique identifier for this player instance (e.g., "MyVideoPlayer1")
  player_init_time: initTime, // The timestamp when the player was initialized, useful for analytics
  video_title: "Test Content", // Title of the video being played (replace with the actual title of your video)
  video_id: "video1234", // A unique identifier for the video (replace with your actual video ID for tracking purposes)
  viewer_id: "user12345", // A unique identifier for the viewer (e.g., user ID, session ID, or any other unique value)
  video_content_type: "series", // Type of content being played (e.g., series, movie, etc.)
  video_stream_type: "on-demand", // Type of streaming (e.g., live, on-demand)

  // Custom dimension fields for additional business logic
  custom_1: "", // Use this field to pass any additional data needed for your specific business logic
  custom_2: "", // Use this field to pass any additional data needed for your specific business logic

  // Additional dimensions
};

// Configure FastPix data integration
const fastPixShakaIntegration = loadShakaPlayer(
  player, // The Shaka Player instance managing playback
  {
    debug: false, // Optional flag; set to true to enable debug logs for troubleshooting
    data: playerMetadata,
  },
  shaka, // Pass the imported Shaka Player instance for proper integration
);
// Define passable dimensions for tracking
const customDimensions = {
workspace_id: "WORKSPACE_KEY", // Unique key to identify your workspace (replace with your actual workspace key)
player_name: "Main Video Player", // A custom name or identifier for this video player instance
player_init_time: initializationTime, // Timestamp of when the player was initialized (useful for tracking performance metrics)
video_title: "Test Content", // Title of the video being played (replace with the actual title of your video)
video_id: "f01a98s76t90p88i67x", // A unique identifier for the video (replace with your actual video ID for tracking purposes)
viewer_id: "user12345", // A unique identifier for the viewer (e.g., user ID, session ID, or any other unique value)
video_content_type: "series", // Type of content being played (e.g., series, movie, etc.)
video_stream_type: "on-demand", // Type of streaming (e.g., live, on-demand)
// Custom dimension fields for additional business logic
custom_1: "", // Use this field to pass any additional data needed for your specific business logic
custom_2: "", // Use this field to pass any additional data needed for your specific business logic
// Add any additional dimensions here if needed
};
// Pass both `hlsPlayerInstance` and `Hls` to the FastPix tracker for correct tracking
fastpixMetrix.tracker(videoPlayerElement, {
debug: false, // Set to true to enable debug logs in the console
hlsjs: hlsPlayerInstance, // Pass the `hlsPlayerInstance` created above
Hls, // Pass the `Hls` constructor (imported)
data: customDimensions, // Attach custom metadata for analytics and tracking
});Visualize data from custom dimensions
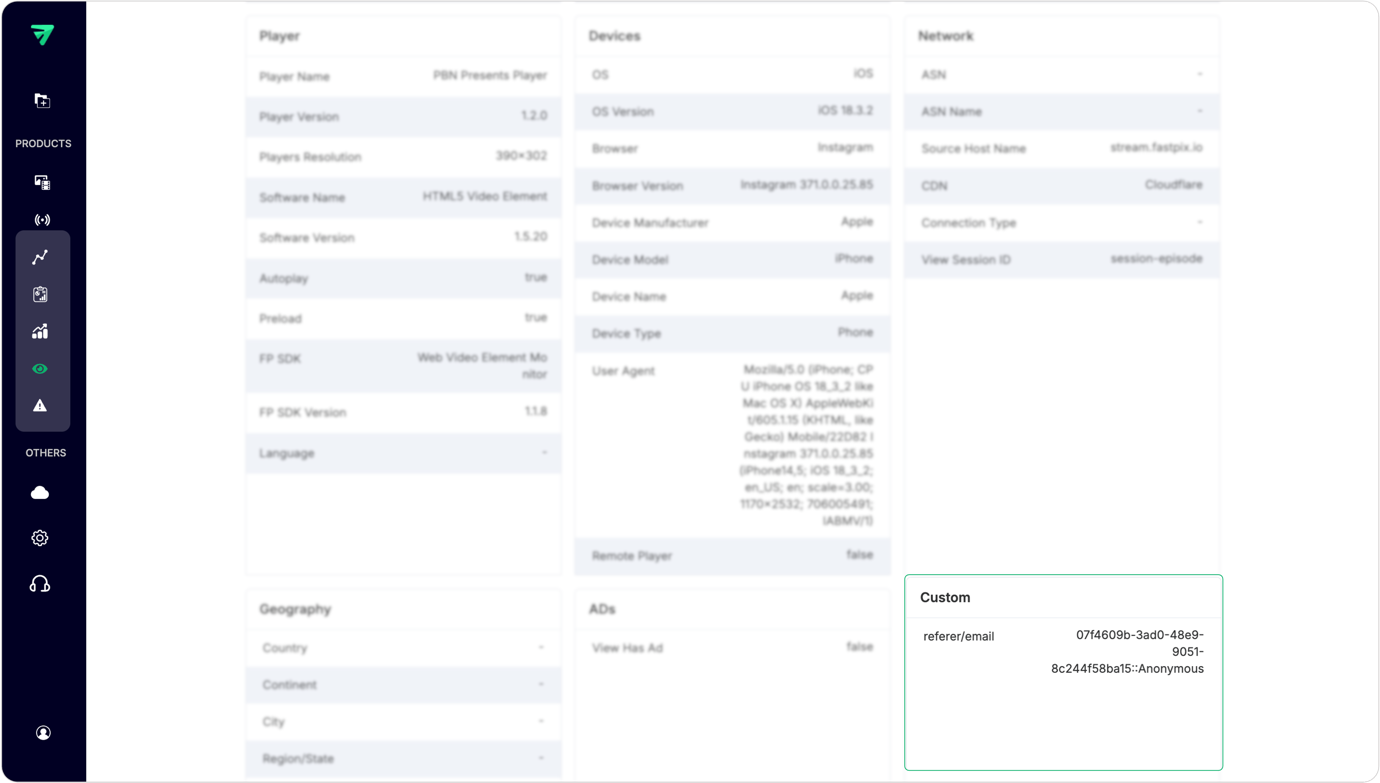
After setting up and integrating custom dimensions, you can visualize the data in several ways:
- View detail page: Custom dimension data can be viewed on the detail page, providing a clear overview of how these dimensions impact your analytics.
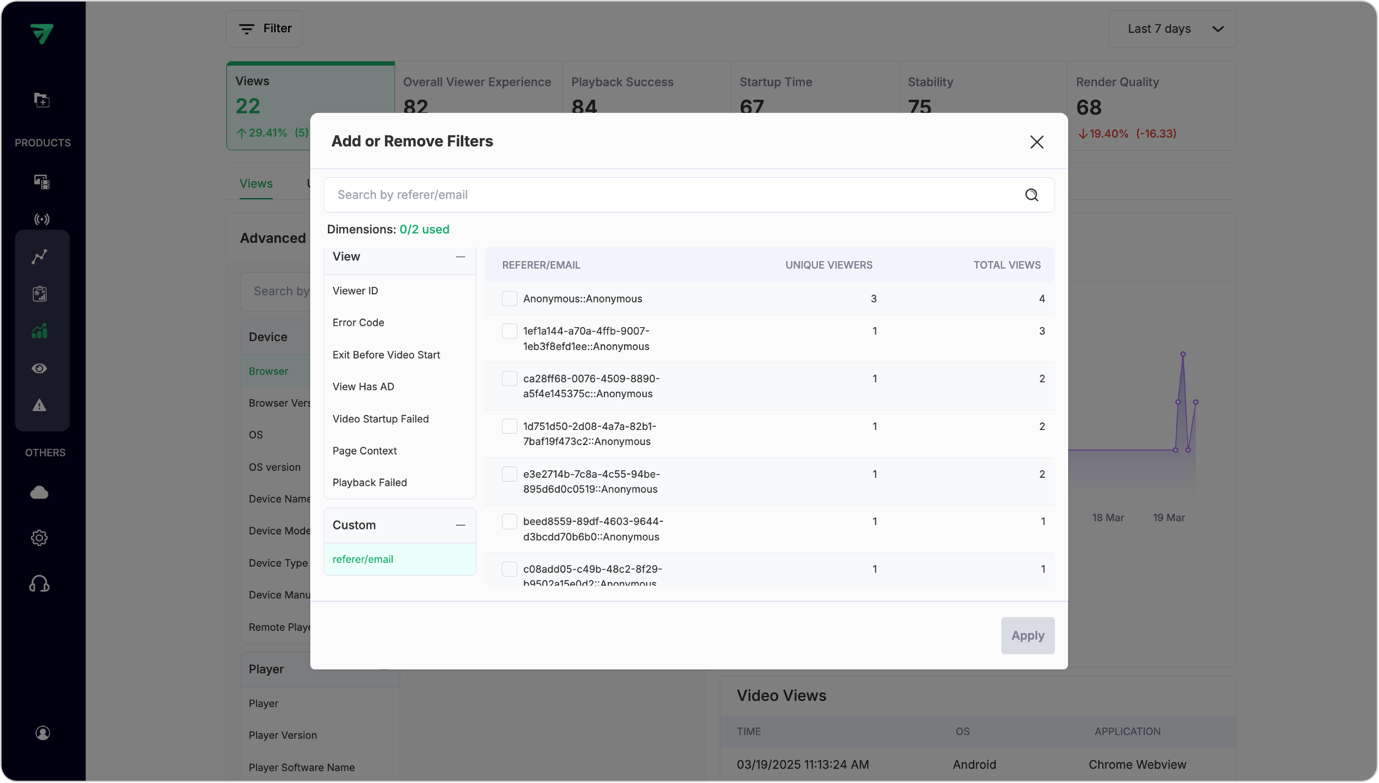
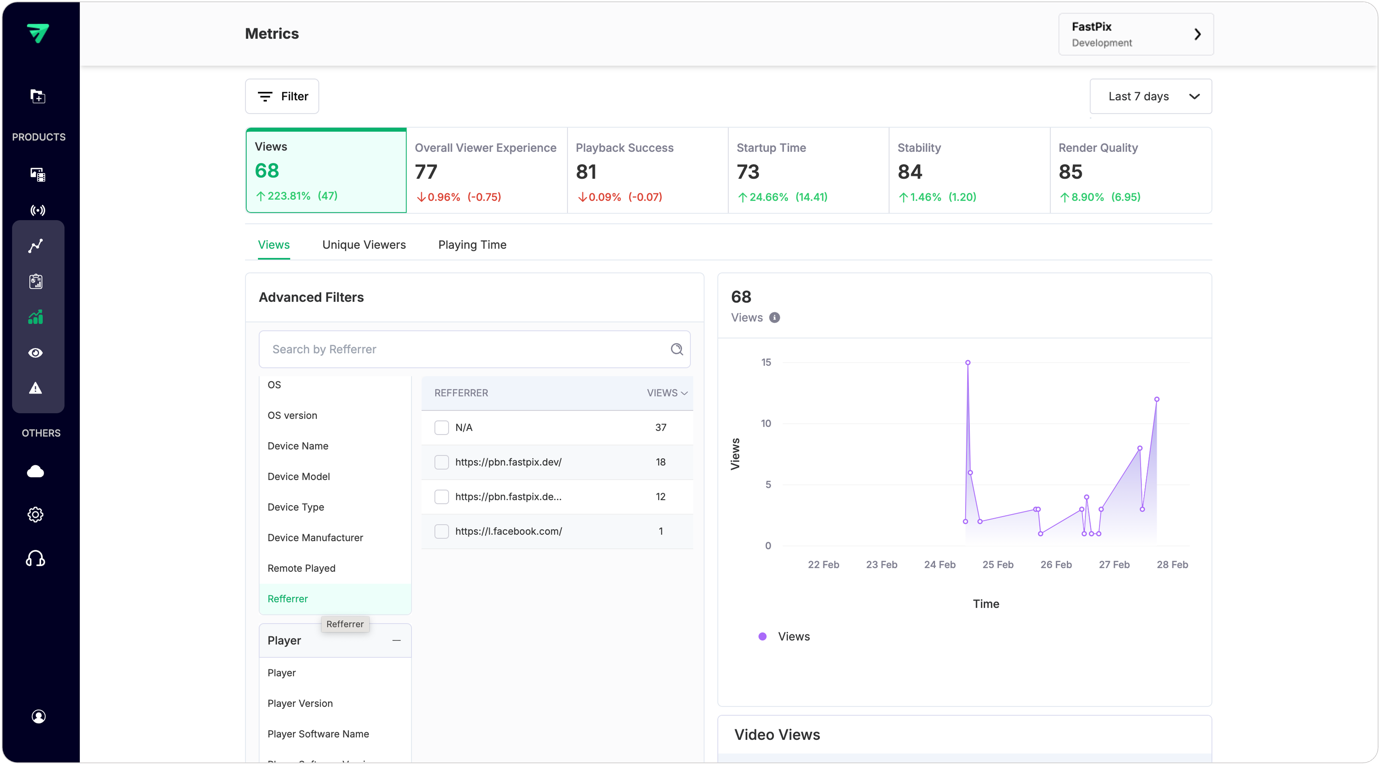
- Filter and advanced filter sections: Custom dimensions can also be used in the filter and advanced filter sections. This allows you to slice and dice your data across different metrics, providing a more detailed understanding of your audience and their behaviors.
Updated 7 months ago