
Upload videos directly
Upload large video files directly to FastPix using signed URLs with resumable chunked uploads.
FastPix Direct Uploads provide a streamlined solution for uploading media (video and audio) directly to your platform from client applications. This guide explains the process and highlights how to use authenticated upload URLs for seamless content delivery.
Why to use FastPix direct uploads
FastPix Direct Uploads can be used in multiple scenarios:
- Mobile app uploads: You can upload videos directly from their mobile devices, enhancing user-generated content (UGC) capabilities.
- Web app uploads: Web applications can facilitate direct uploads, allowing you to share content easily.
- Server-side content uploads: Large platforms can upload media files in batches from their servers, streamlining content management.
- Command-line tool uploads: Developers can leverage command-line tools for quick and efficient uploads, perfect for automated workflows.
GETTING STARTED
If you are exploring FastPix as a first time user, we suggest to also see our Getting started in 5 minutes guide to understand the workflow from making API requests to getting your video playbacks.
How to make a direct upload to FastPix
FastPix supports both:
- Direct uploads using signed URLs.
- Uploads via the FastPix Web, iOS and Android - Resumable Uploads SDK.
How to upload directly to FastPix
Get your signed upload URL
Make a POST request to:
https://api.fastpix.io/v1/on-demand/upload In the following curl command, replace ACCESS_TOKEN_ID and SECRET_KEY with the Access Token ID and Secret Key values from the .env file you downloaded.
curl -X POST "https://api.fastpix.io/v1/on-demand/upload" \
  -u ACCESS_TOKEN_ID:SECRET_KEY \
  -H "Content-Type: application/json" \
  -d '{
  "corsOrigin": "*",
  "pushMediaSettings": {
    "accessPolicy": "public",
    "maxResolution": "1080p",
    "mediaQuality": "standard"
  }
}'
Use your Access Token credentials (Token ID and Secret) for Basic Auth. The response contains a signedUrl. Go to the FastPix documentation to create a new Upload Media From Device with your desired asset settings
Web (Browser uploads):
- You must include the header: X-Client-Type: web-browser.
- This is required to fetch a signed URL that supports uploads initiated from the browser.
Android & iOS uploads:
- Do not include the X-Client-Type header.
- The fetched signedUrl can be used.
 <script>
        const url = 'https://api.fastpix.io/v1/on-demand/upload';

        // Replace with your actual FastPix Access Token credentials

        const username = ''; // Token ID
        const password = ''; // Token Secret

        // Define your upload request settings
        const data = {
            corsOrigin: '*',
            pushMediaSettings: {
                accessPolicy: 'public',
                metadata: {
                    key1: 'value1',
                },
                generateSubtitles: false,
                normalizeAudio: true,
                maxResolution: '1080p',
                mediaQuality: 'standard',
            },
        };

        // Set up request options with required headers

        const options = {
            method: 'POST',
            headers: {
                'Content-Type': 'application/json',
                Authorization: 'Basic ' + btoa(username + ':' + password),
                'X-Client-Type': 'web-browser', // Required for browser uploads
            },
            body: JSON.stringify(data),
        };

        // Fetch the signed URL
        fetch(url, options)
            .then(response => {
                if (!response.ok) {
                    throw new Error(`Failed to fetch signed URL: ${response.statusText}`);
                }
                return response.json();
            })
            .then(data => {
                const signedUrl = data.signedUrl;
                console.log('Signed URL for upload:', signedUrl);

                // Use the signedUrl in Step 2 (manual upload or SDK)
            })
            .catch(error => {
                console.error('Error fetching signed URL:', error);
            });
 </script>
NOTE
The signedUrl can also be passed directly to the FastPix Resumable Uploads SDK (Web, Android or iOS). The SDK automatically initiates the upload session, handles chunked uploading and resumes on interruptions.
Along with the URL, you will receive a unique ID for this direct upload. Save this ID to track the upload progress later through the API.
Initiate the upload session (Web Only)
After you have the signedUrl, you must initiate a resumable upload session if you are manually uploading in the browser (not using the SDK).
Direct resumable upload
- Send a POST request to the signedUrl with header:
x-goog-resumable: start - The response contains a Location header and a resumable upload URL.
- Upload the file in a PUT request to that URL.
<script>
    /*
    * FastPix Client-Side Upload Process
    *
    * Step 1: Fetch a signed upload URL using your credentials.
    * Step 2: Use the URL for direct media upload or pass it to the SDK.
    */

    const url = 'https://api.fastpix.io/v1/on-demand/upload';

    // Replace with your actual FastPix Token credentials
    const username = ''; // Token ID
    const password = ''; // Token Secret

    // Define media upload settings
    const data = {
        corsOrigin: '*',
        pushMediaSettings: {
            accessPolicy: 'public',
            metadata: {
                key1: 'value1',
            },
            generateSubtitles: false,
            normalizeAudio: true,
            maxResolution: '1080p',
            mediaQuality: 'standard',
        },
    };

    const options = {
        method: 'POST',
        headers: {
            'Content-Type': 'application/json',
            Authorization: 'Basic ' + btoa(username + ':' + password),
            'X-Client-Type': 'web-browser',
        },
        body: JSON.stringify(data),
    };

    // Step 1: Fetch signed URL
    fetch(url, options)
        .then(response => {
            if (!response.ok) {
                throw new Error(`Failed to fetch signed URL: ${response.statusText}`);
            }
            return response.json();
        })
        .then(data => {
            const signedUrl = data.signedUrl;

            console.log('Signed URL for upload:', signedUrl);

            // Step 2A: Manual upload (optional example)
            /*
            fetch(signedUrl, {
            method: 'POST',
            headers: {
            'x-goog-resumable': 'start'
            }
            })
            .then(res => {
            const resumableUploadUrl = res.headers.get('Location');
            console.log('Resumable Upload URL:', resumableUploadUrl);
            // Use PUT with this URL to upload media
            });
            */

            // Step 2B: SDK upload
            // Pass the `signedUrl` to FastPix Web Resumable Uploads SDK
        })
        .catch(error => {
            console.error('Error fetching signed URL:', error);
        });
</script>
Upload the file
Once you have the upload URL, you’re ready to upload the file using a PUT request.
For SDK users:
Skip this step, our SDK handles it.
For manual uploads:
- Use the upload URL.
- Send the media file in the body of a PUT request.
<script>
    fetch(resumableUploadUrl, {
    method: 'PUT',
    headers: {
    'Content-Type': mediaFile.type || 'application/octet-stream',
    },
    body: mediaFile,
    });
</script>
Track your upload
Check your FastPix dashboard to confirm that the uploads were successful. You'll see new assets listed with the settings you specified during setup, along with the uploaded video.
Upload a video from your device
You can upload a video file directly from your device using the FastPix dashboard. Follow these steps to select a file, push it to FastPix, and verify the upload.
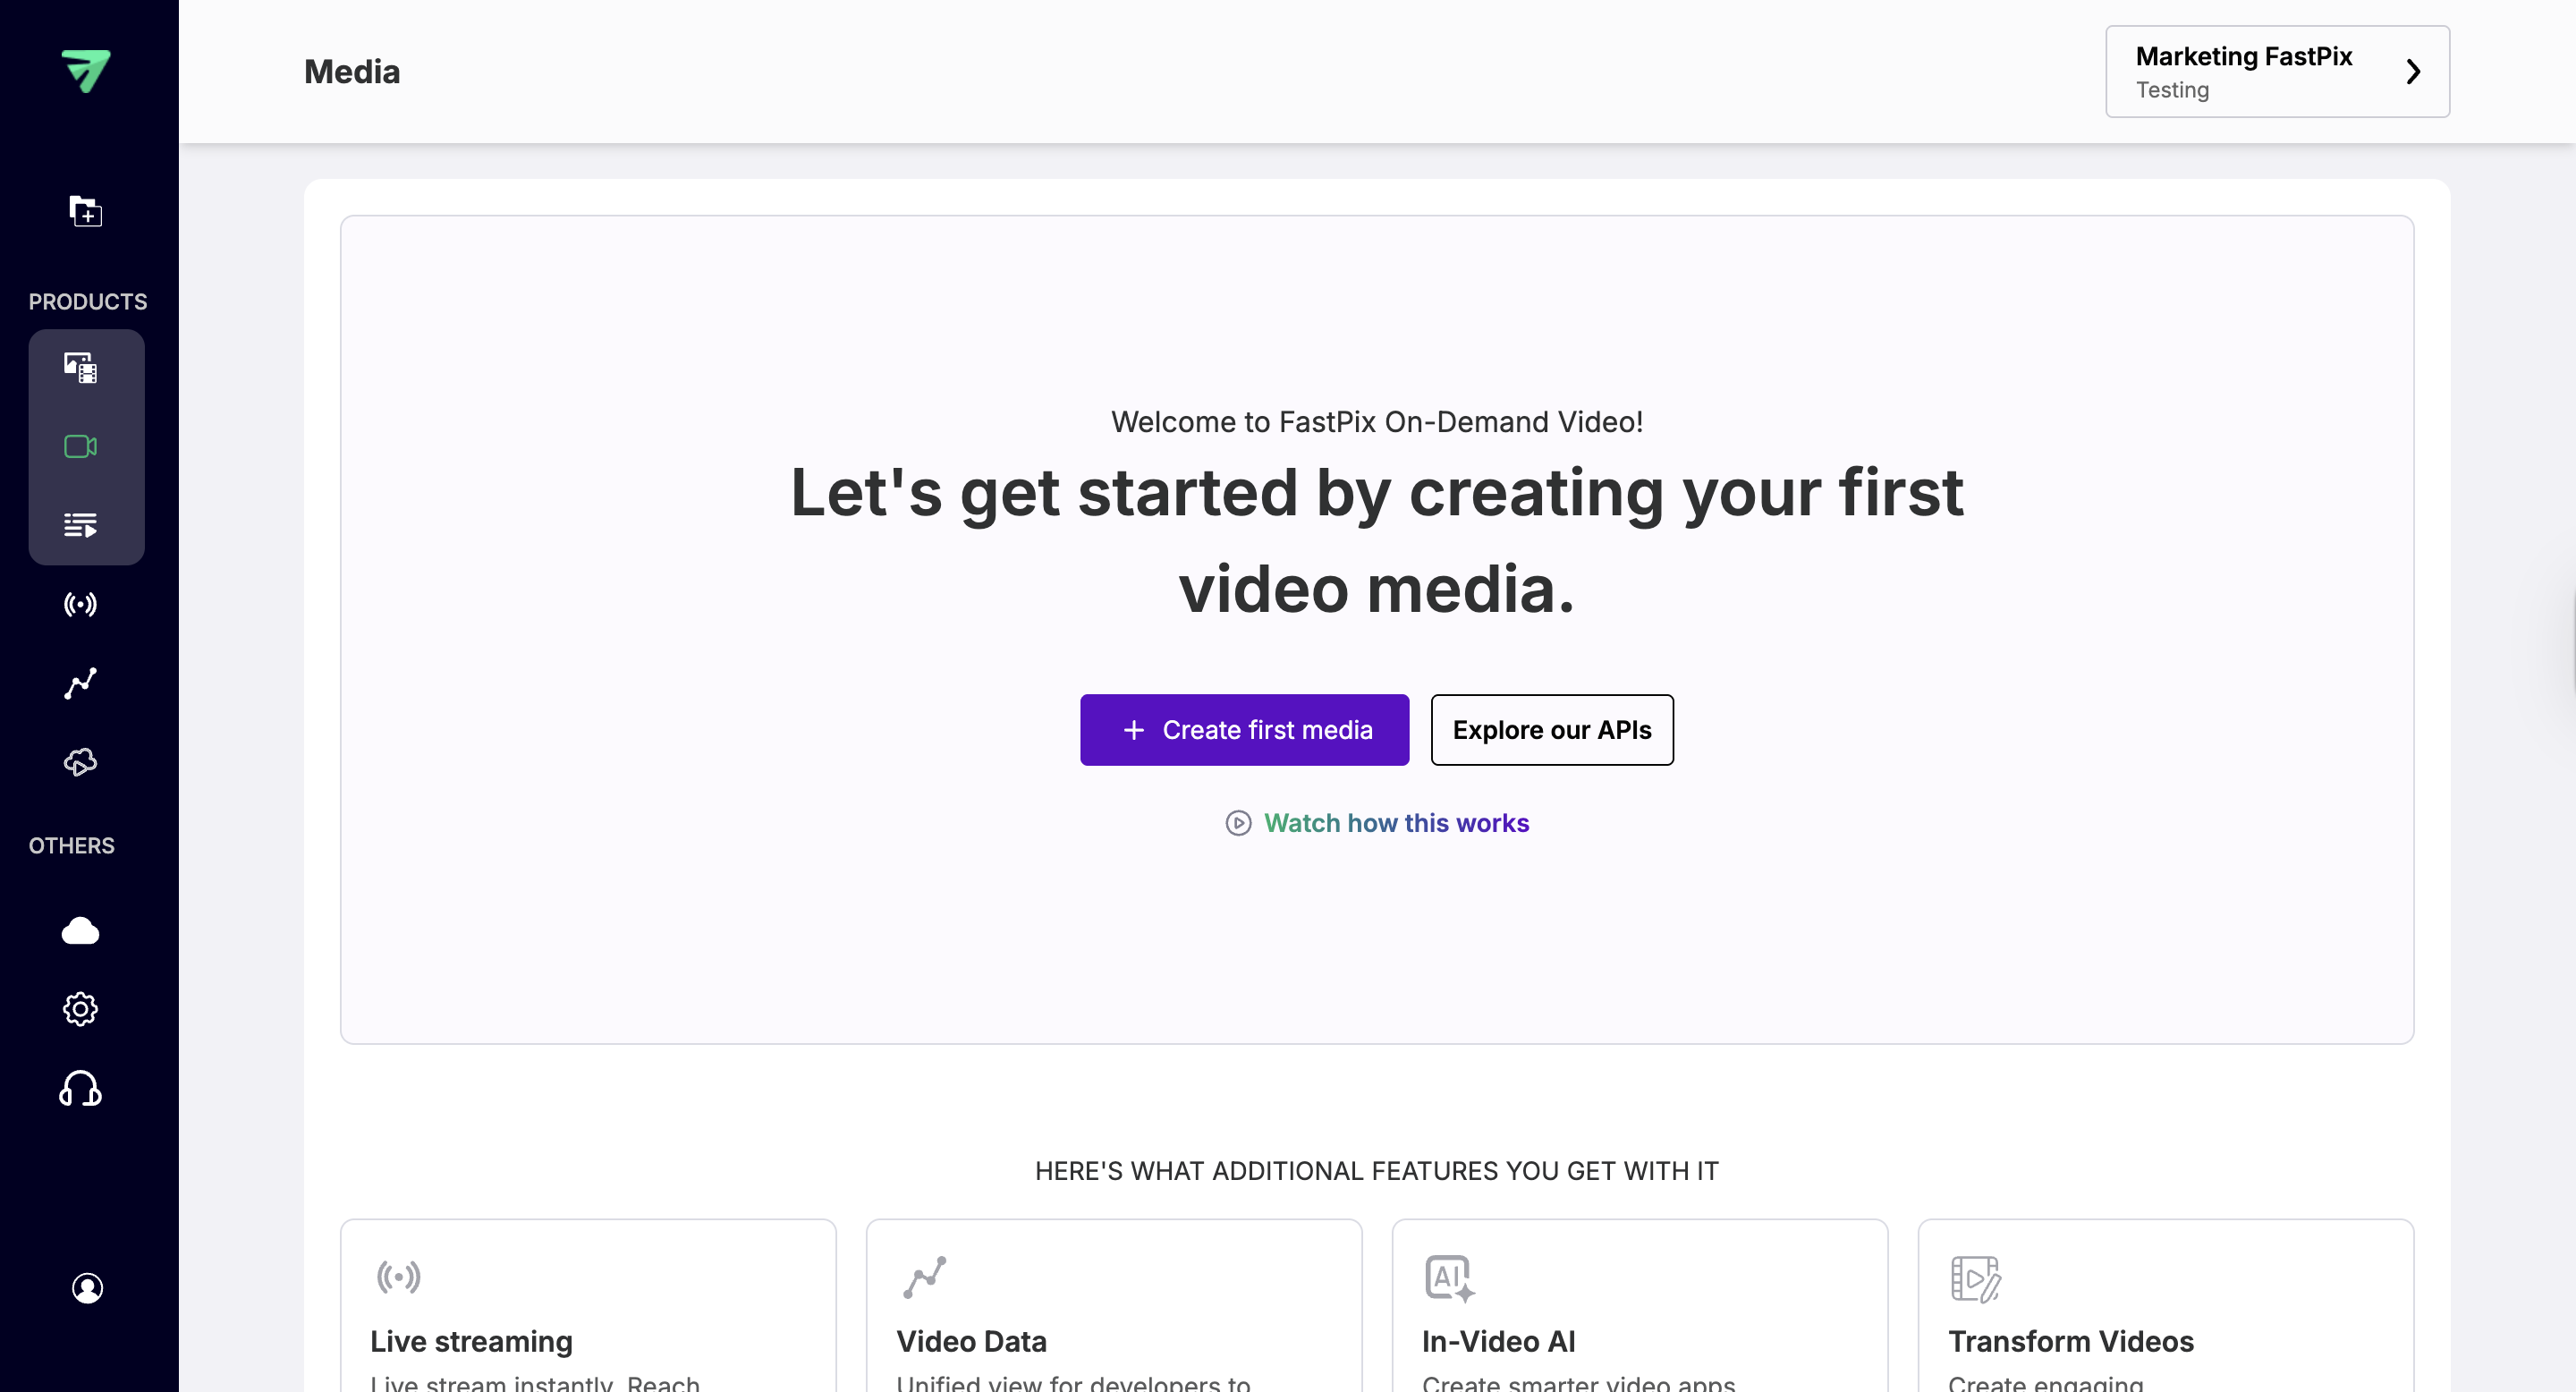
Open the Add Media Dialog from the Dashboard
From the FastPix dashboard, go to Media > Create first media (or Add new media).
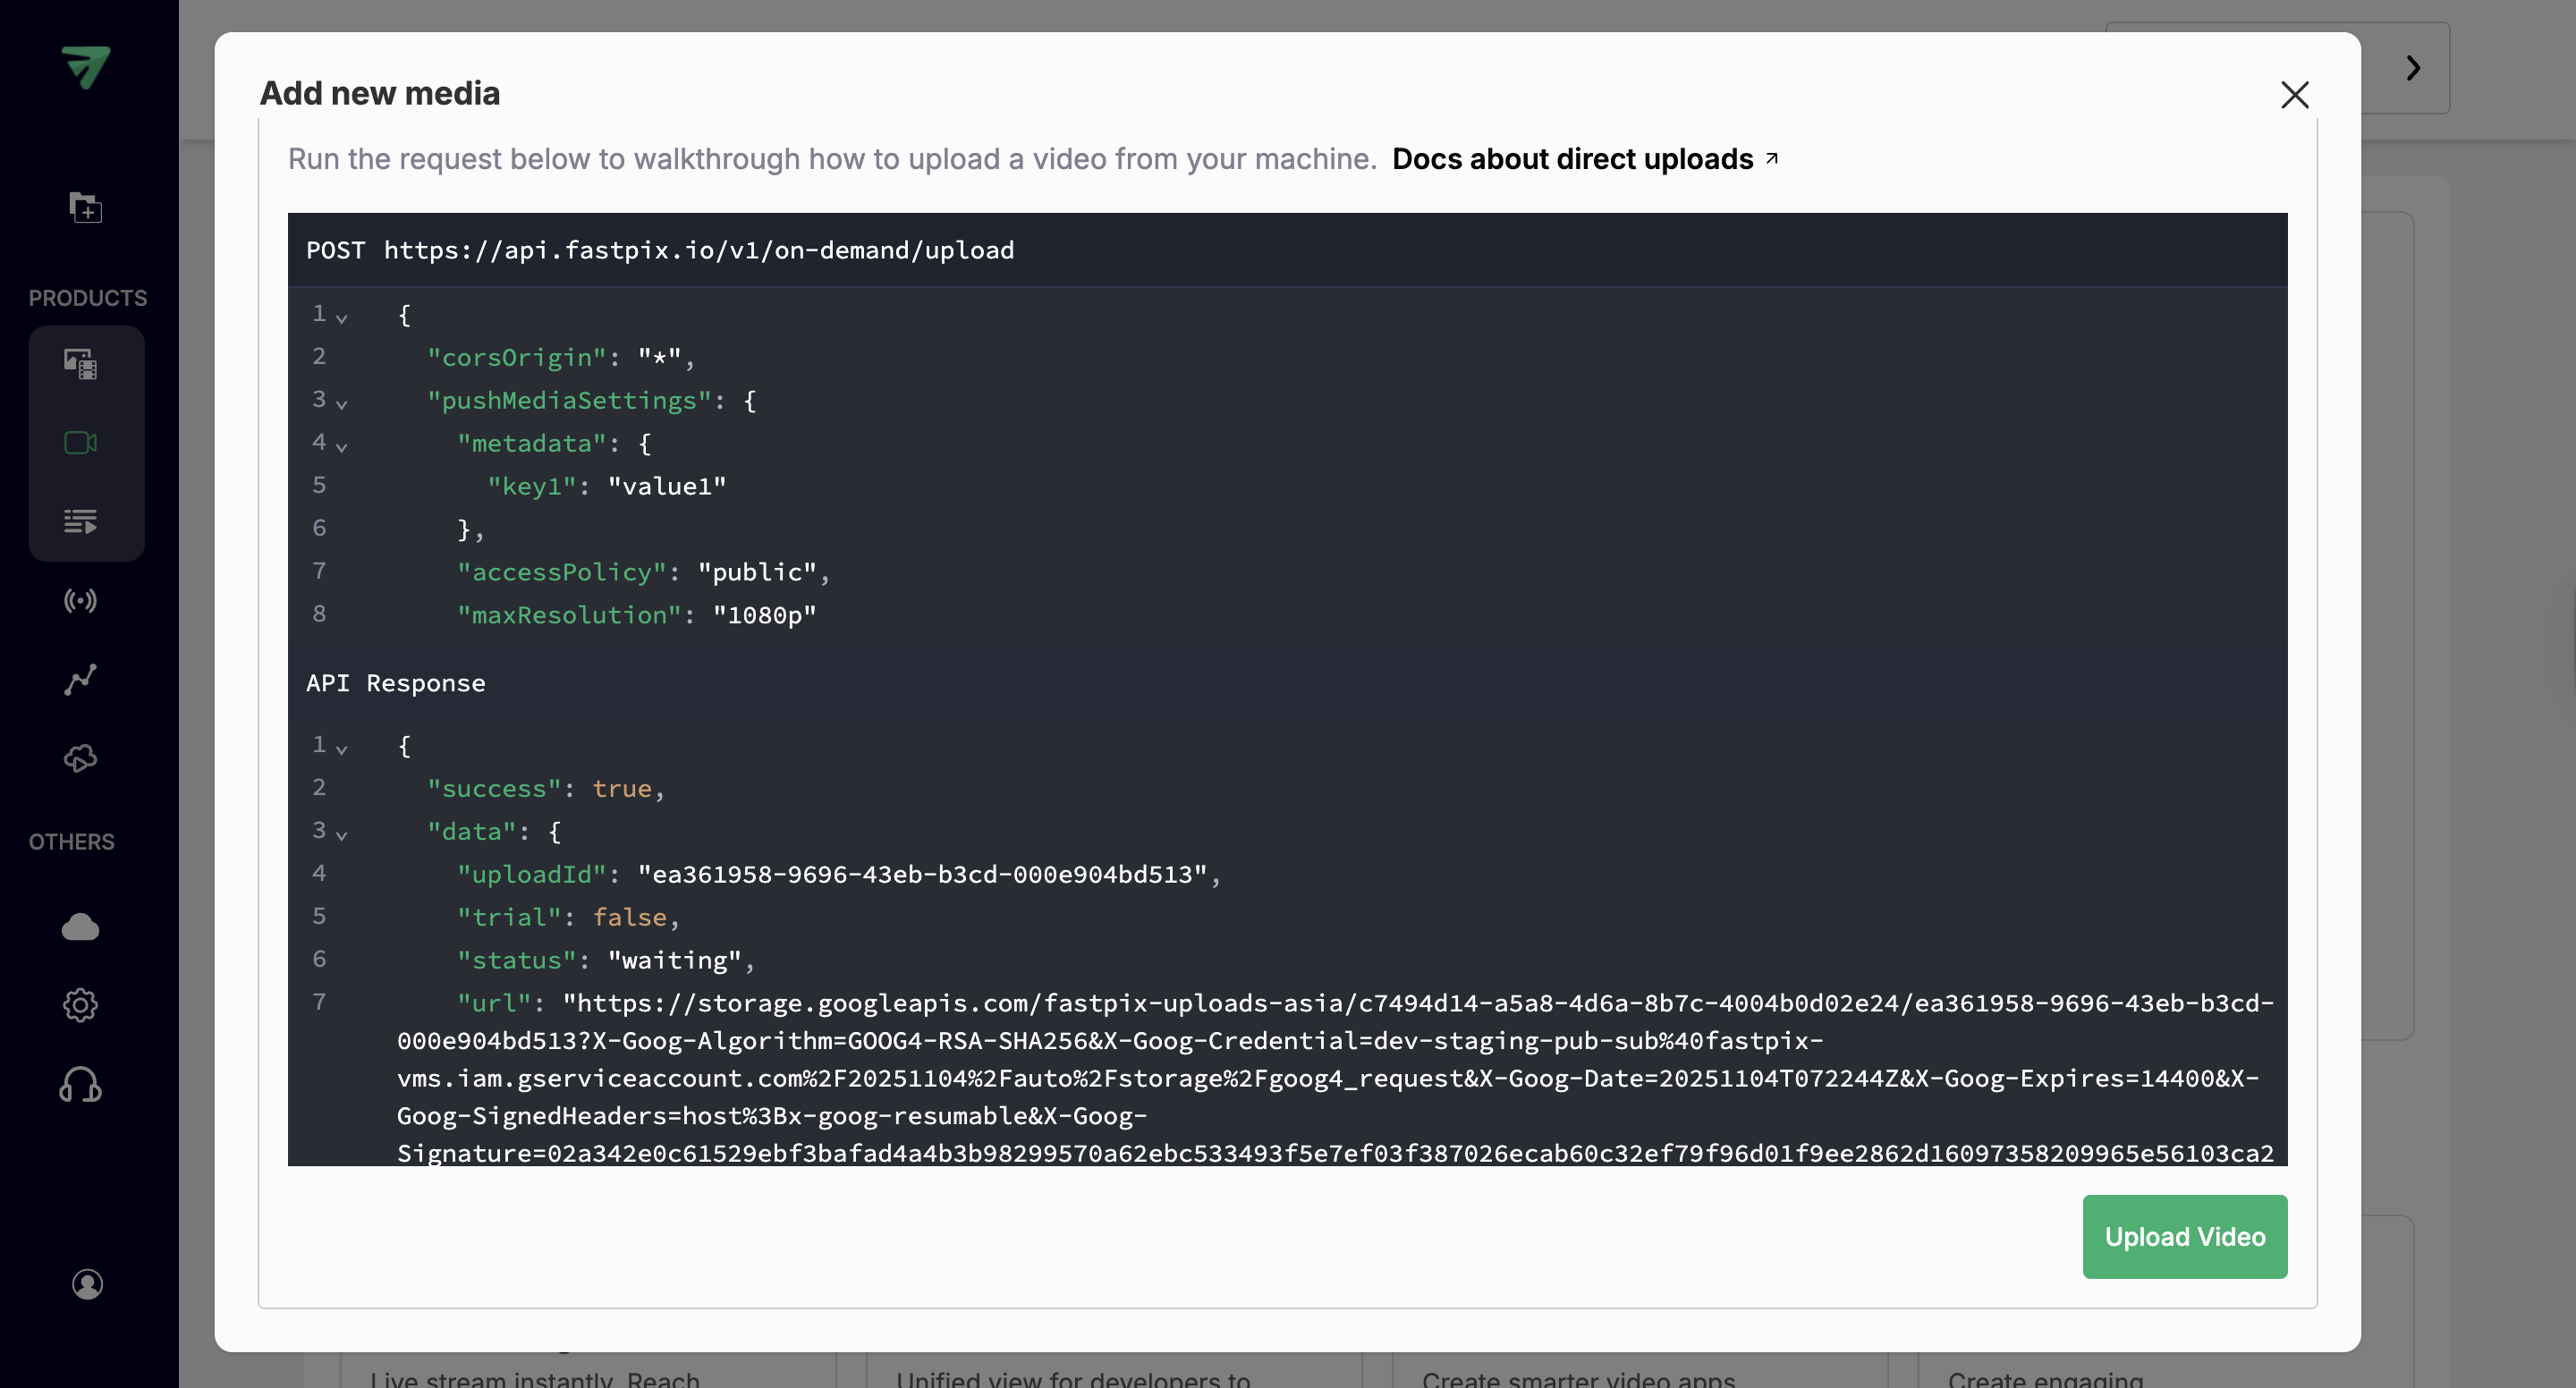
Start a Direct Upload
Choose Push Video to open the upload dialog. This option allows you to upload a video directly from your computer instead of using a URL.

Select the File and Upload
Click Upload Video to browse your device. FastPix automatically starts processing the file after it’s uploaded.
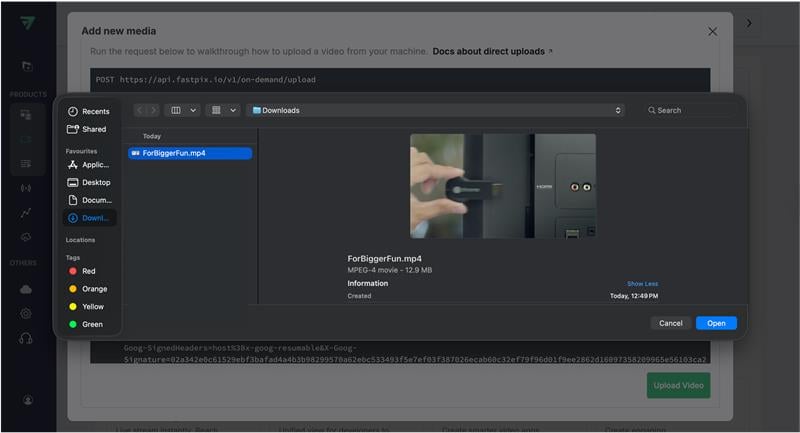
Select the file from your device
Navigate to the video you want to upload, select it, then click Open (or Choose).
(Use a MP4 or WebM file with a reasonable bitrate. Large files are supported but may take longer to upload depending on your connection.)
Track the upload progress
After selecting the file, the dashboard shows progress. Wait until the upload completes and the processing progress bar reaches 100%.
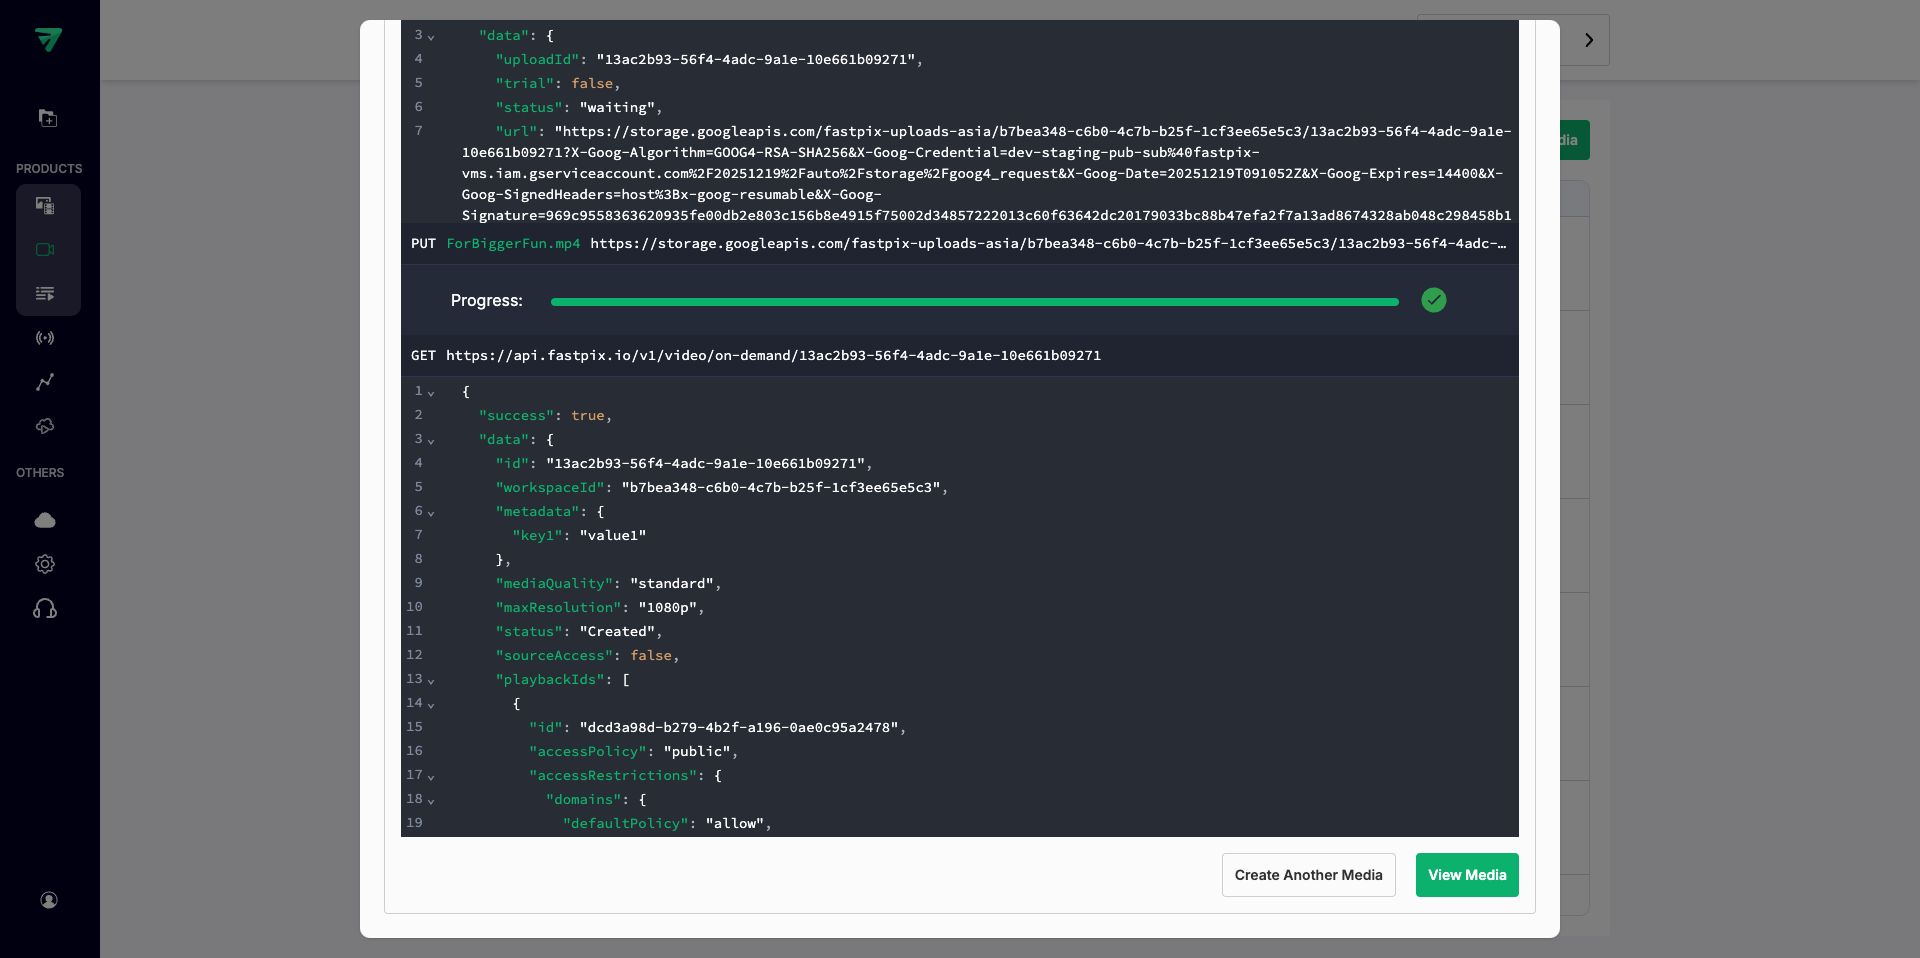
Verify playback and media details
In the Media Details page, verify the video thumbnail, status (must be Ready), duration, and playback ID.

Uploading large media files
FastPix resumable uploads SDK allows large files to be uploaded in smaller, manageable chunks rather than as a single request. This approach ensures that if an upload is interrupted due to network issues, server timeouts, or other disruptions, it can resume from where it left off rather than restarting the entire process.
By breaking files into chunks, resumable uploads improve reliability, reduce the risk of data loss, and optimize bandwidth usage. This method is particularly beneficial for handling large media files, ensuring smoother experiences, and enabling efficient uploads even in unstable network conditions. Additionally, resumable uploading supports error handling, retry mechanisms, and progress tracking, making it an essential feature for modern file transfer systems.
Updated 3 months ago