Migrate from Mux
Learn how to obtain Mux credentials and migrate videos to FastPix, including API key setup, video selection, and smooth content transfer.
This guide provides a detailed walkthrough for generating Access Token Id and Secret Key in Mux dashboard, both of which are essential requirements for successfully migrating videos from Mux to FastPix.
Obtaining Mux credentials
Step 1: Login to Mux dashboard
- Navigate to dashboard.mux.com.
- Enter your email and password or continue with Google or GitHub.
Step 2: Access settings
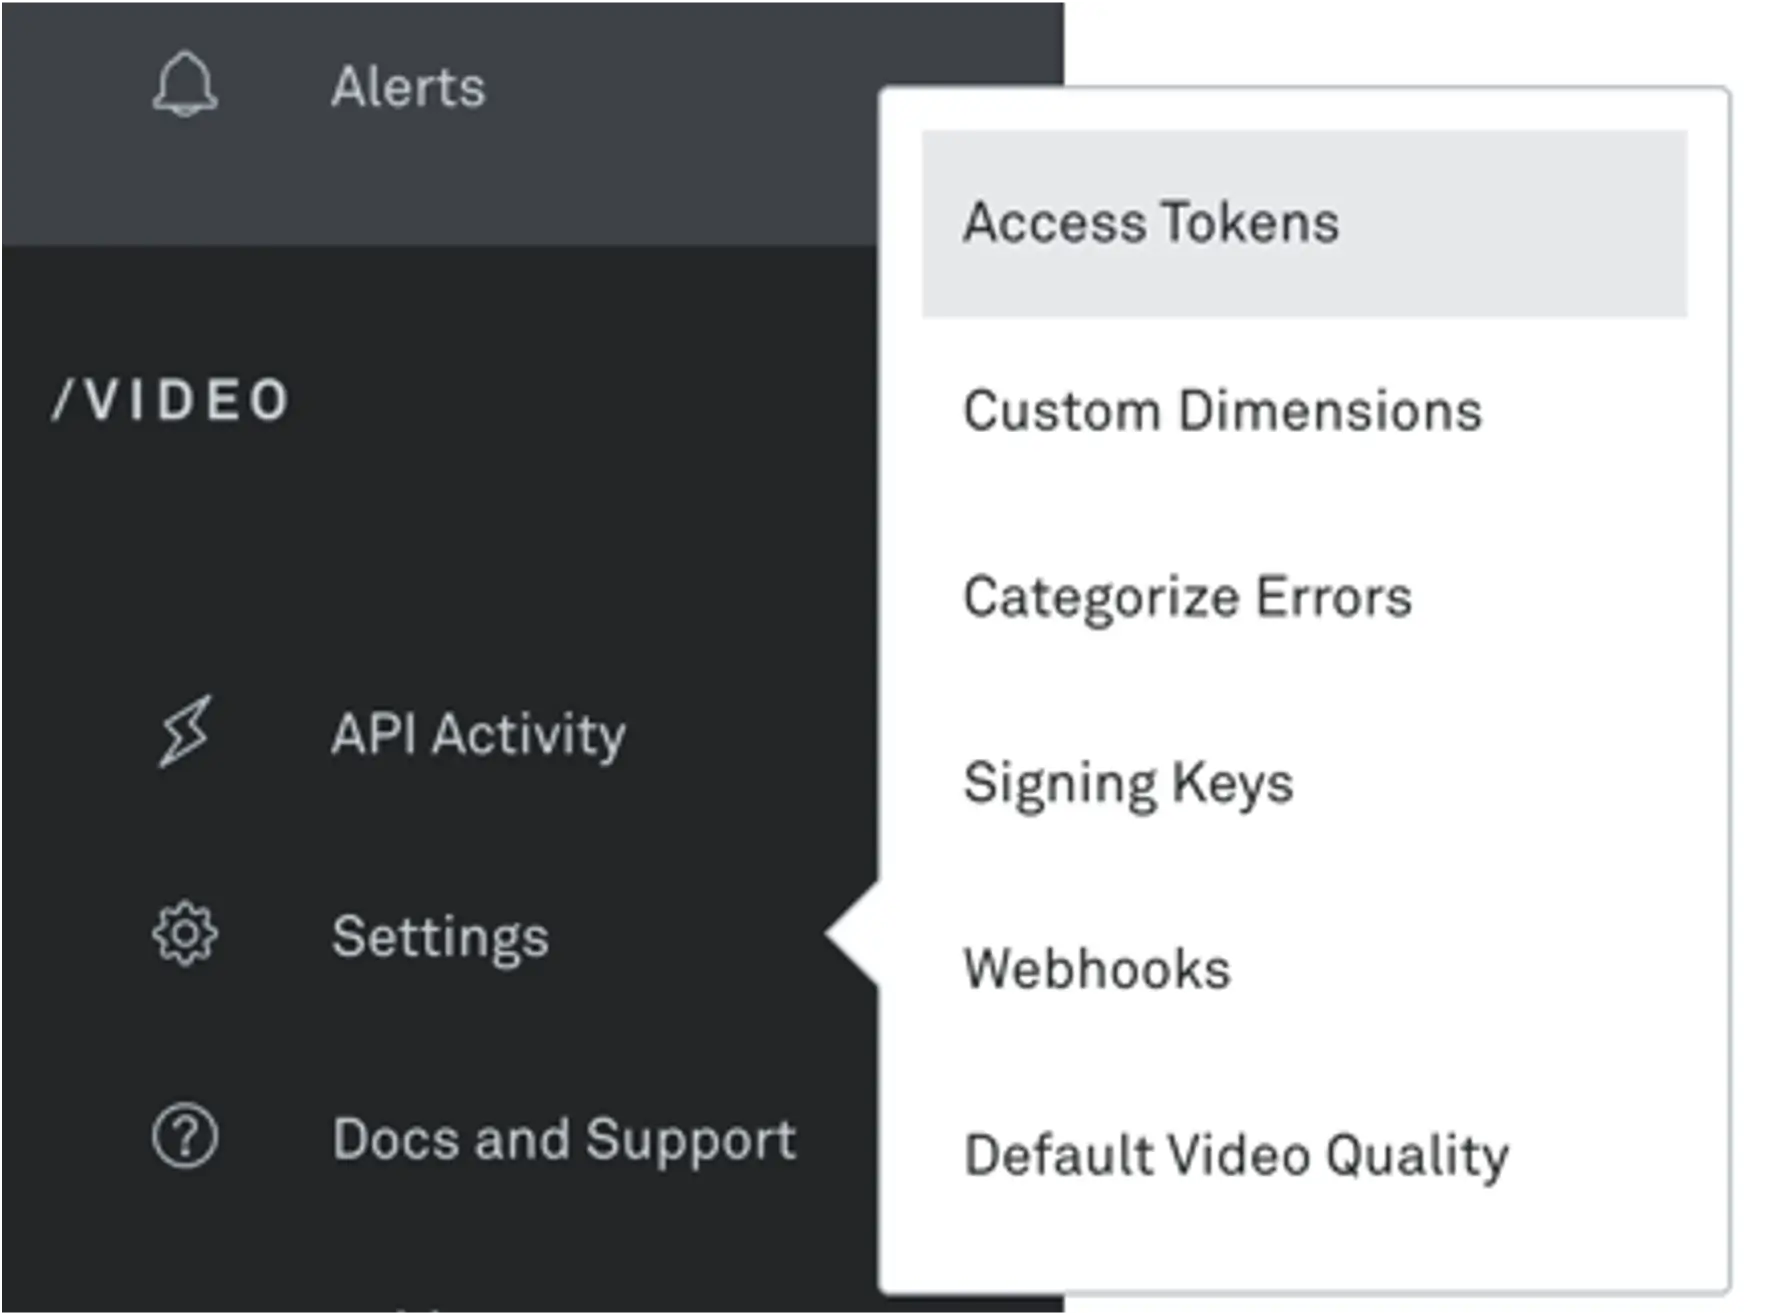
- Click on the Settings icon in the left sidebar.
- Select "Access Token".
- Navigate to "Access Tokens" section.
Step 3: Generate access token
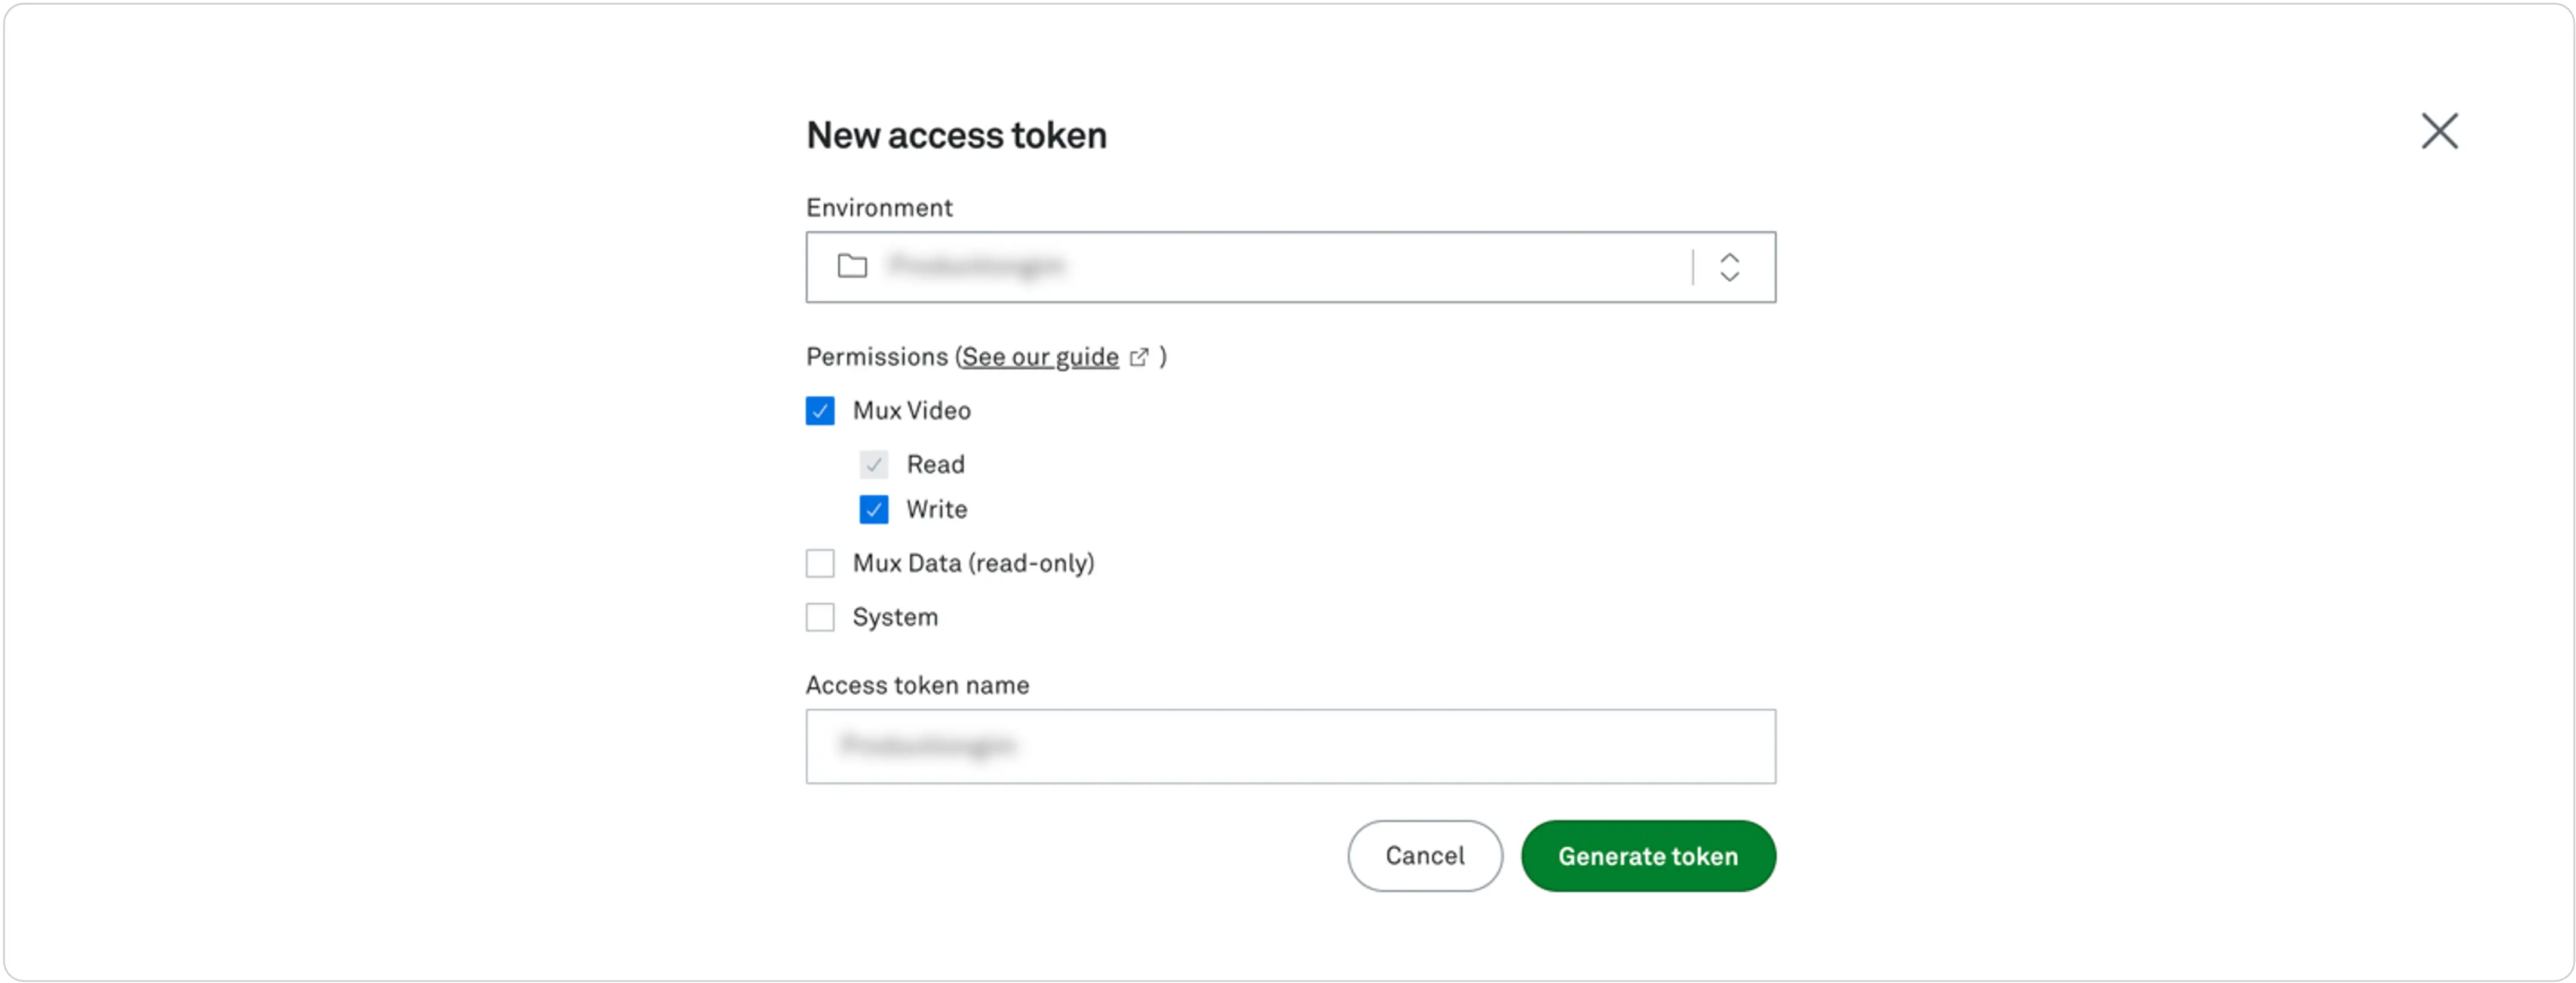
- Click on Generate new token.
- Fill in the token details:
- Environment selection (Development or Production)
- Token name (descriptive label for the token's purpose)
- Permissions: Mux Video – use read and write both
Step 4: Token generation
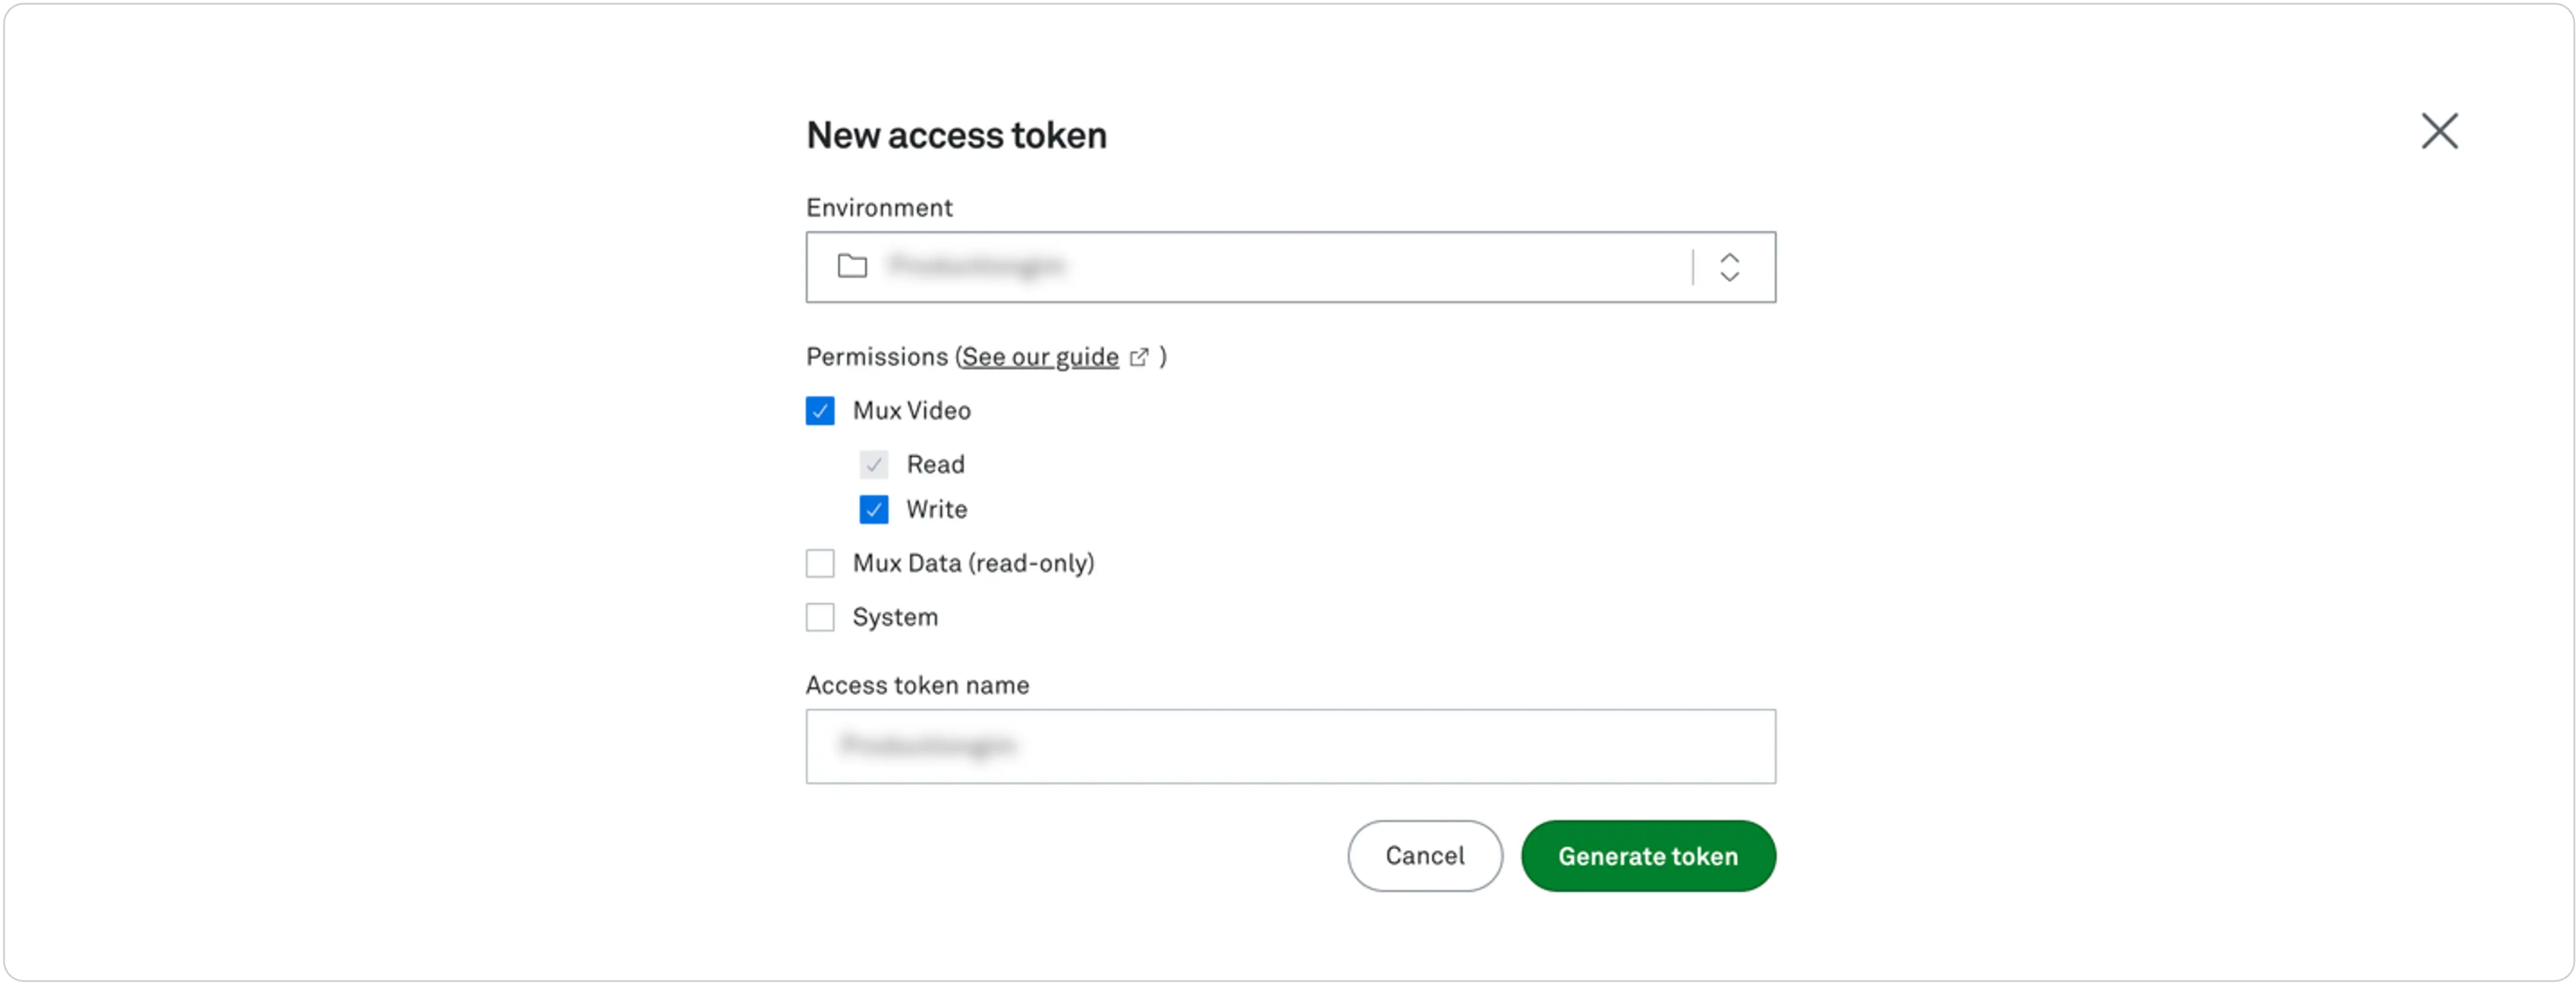
- Click "Generate Token"
- You will receive two critical pieces of information:
- Access Token
- Secret Key
Important security notes
- Store both Token ID and Secret immediately in a secure password manager.
- Never share these credentials publicly.
- Avoid storing in unsecured locations or sending via unencrypted channels.
Now that you have the Access Token ID and Secret Key from Mux, you can use them in the FastPix Migration Tool to authenticate your Mux account for the import process. Follow the next part of the migrate process below.
Importing videos to FastPix from Mux
-
Access our migration tool: by cloning the GitHub repo and run it locally.
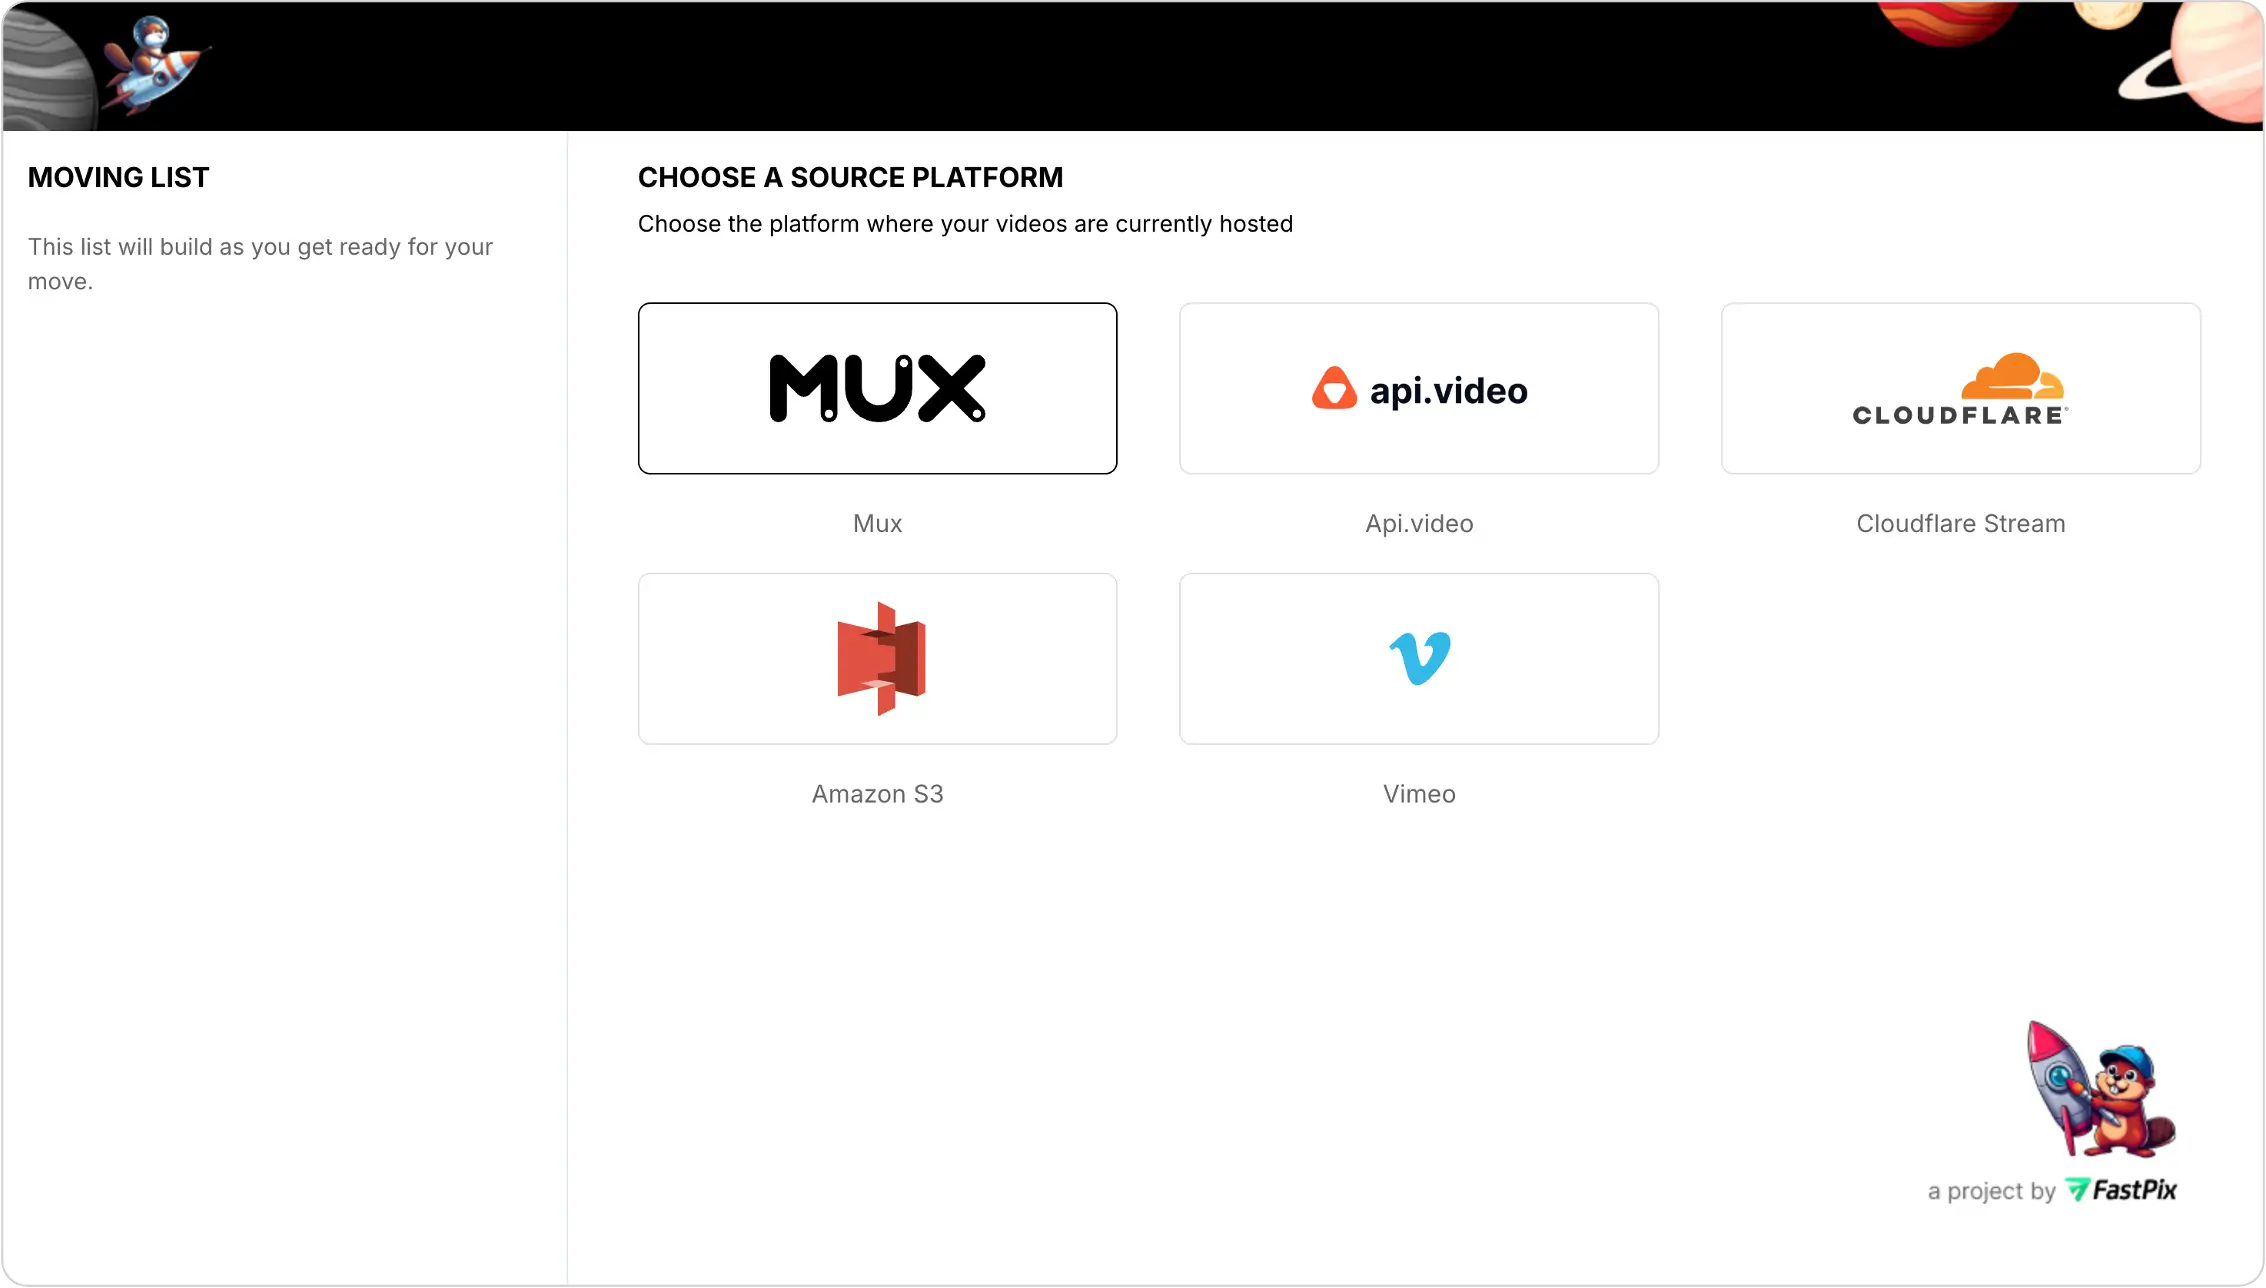
- Source platform selection: Choose Mux as your source platform.
- Source credentials validation
- Enter your Mux credentials from step 4 and 5 above.
- Click "Verify Credentials".
- Wait for validation confirmation.

- Video selection for import
- On the "Select your videos" page.
- Choose "Transfer Everything" option to migrate all videos.

- Destination platform selection: Select FastPix as your destination platform.

- Destination credentials validation
- Enter your FastPix account credentials.
- Click "Verify Credentials".
- Wait for validation confirmation.

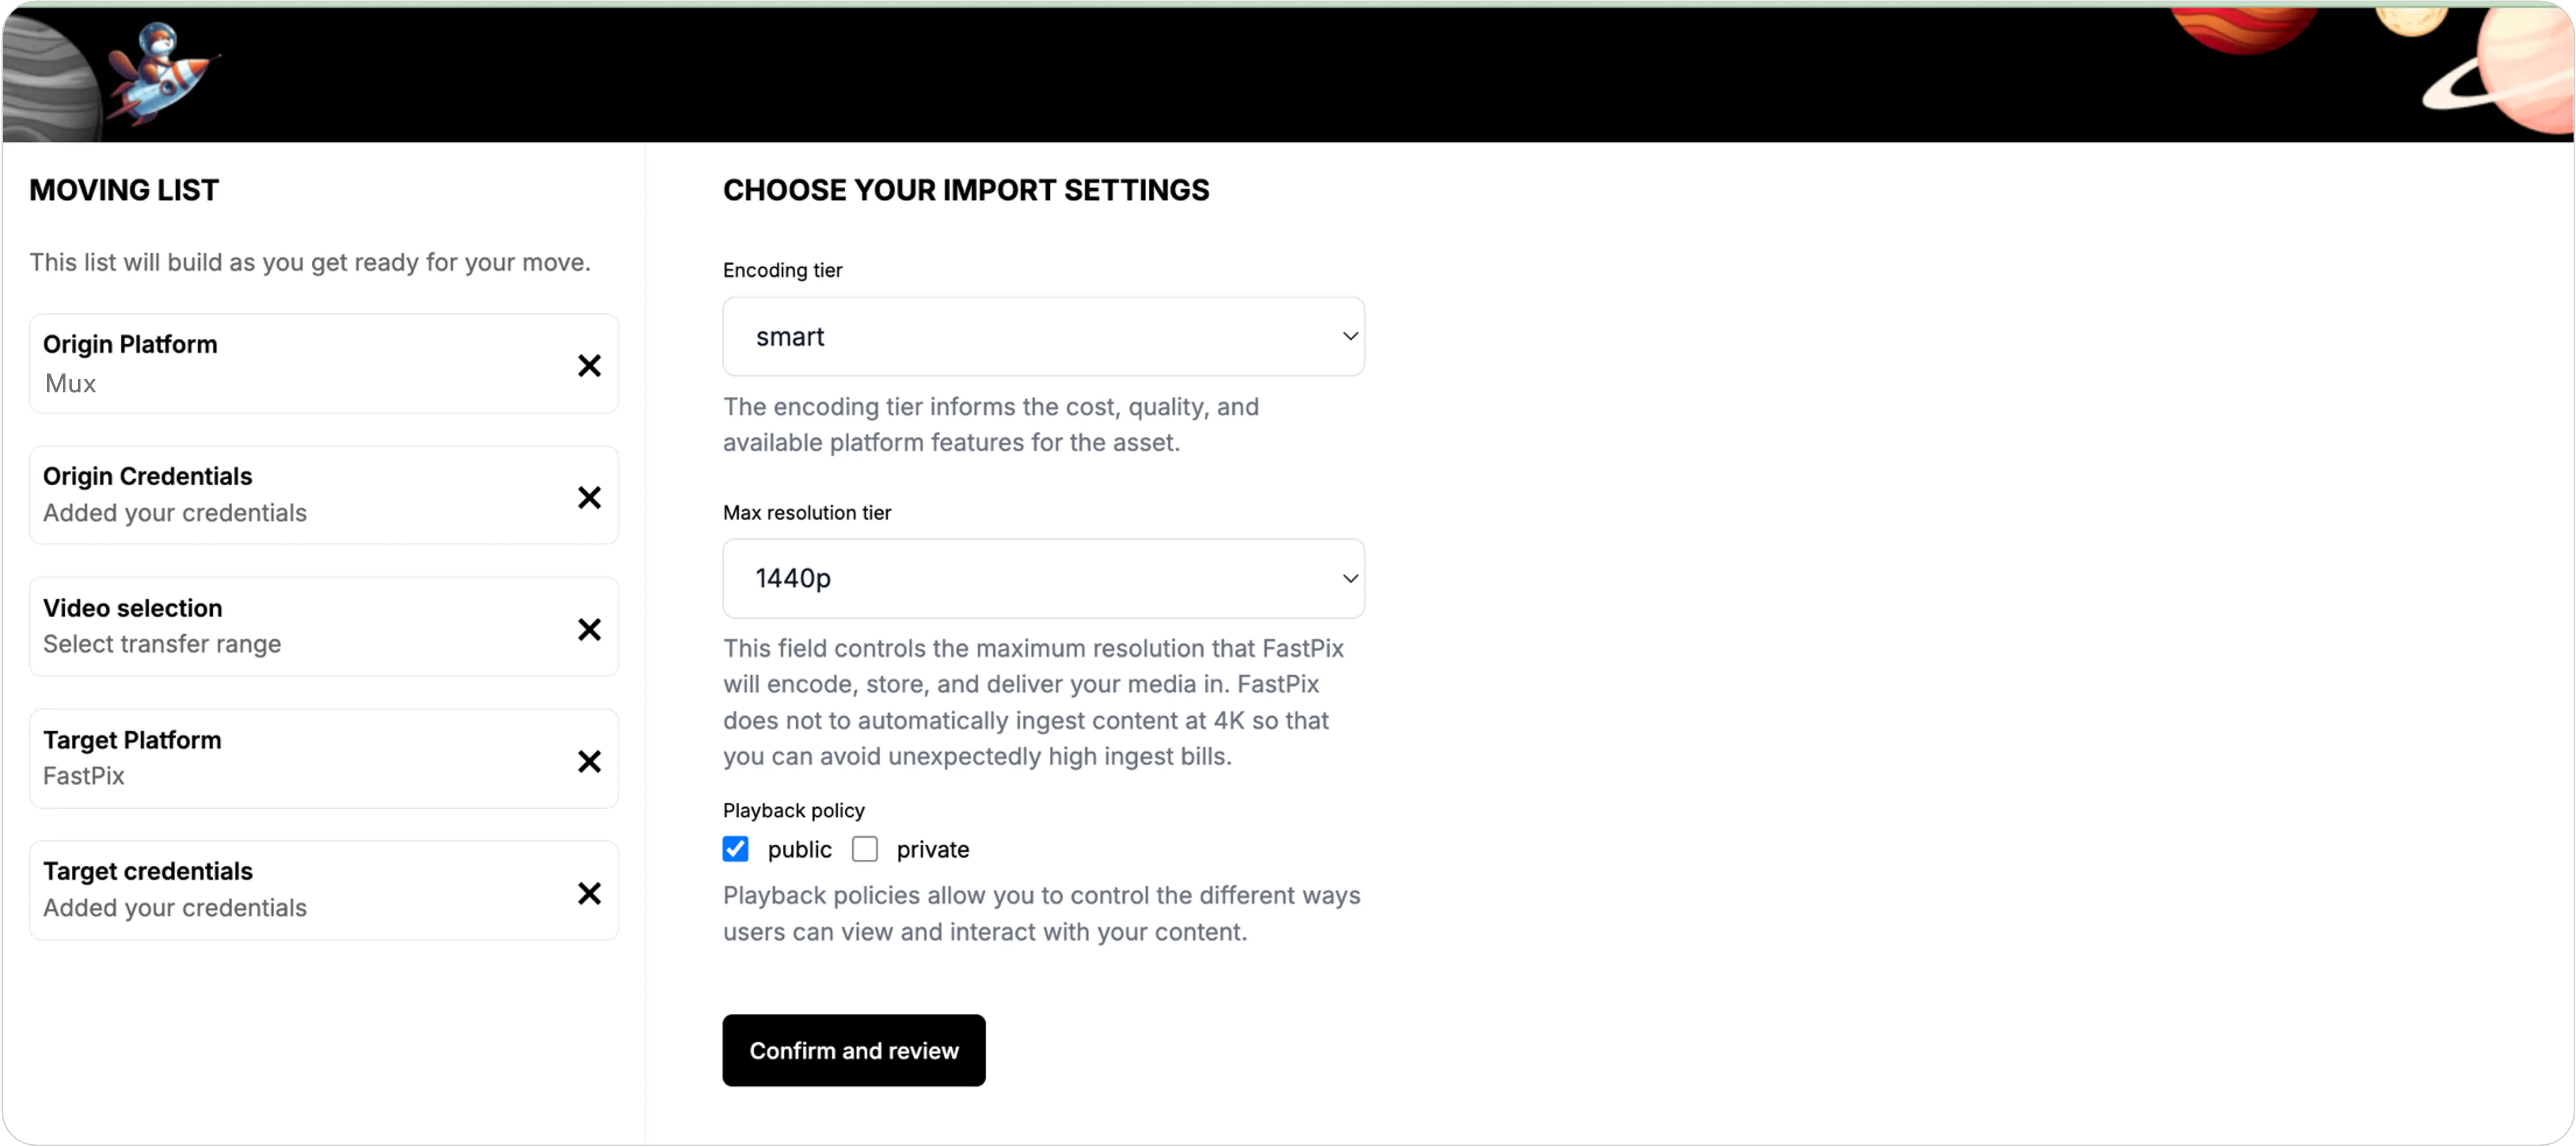
- Import settings configuration
Configure the following video encoding settings:- Encoding tier
- Maximum resolution tier
- Playback policy
- Click "Confirm and Review" to proceed
- Review and start
- Review all selected settings and configurations.
- Click "Start Job" to begin the migration process.
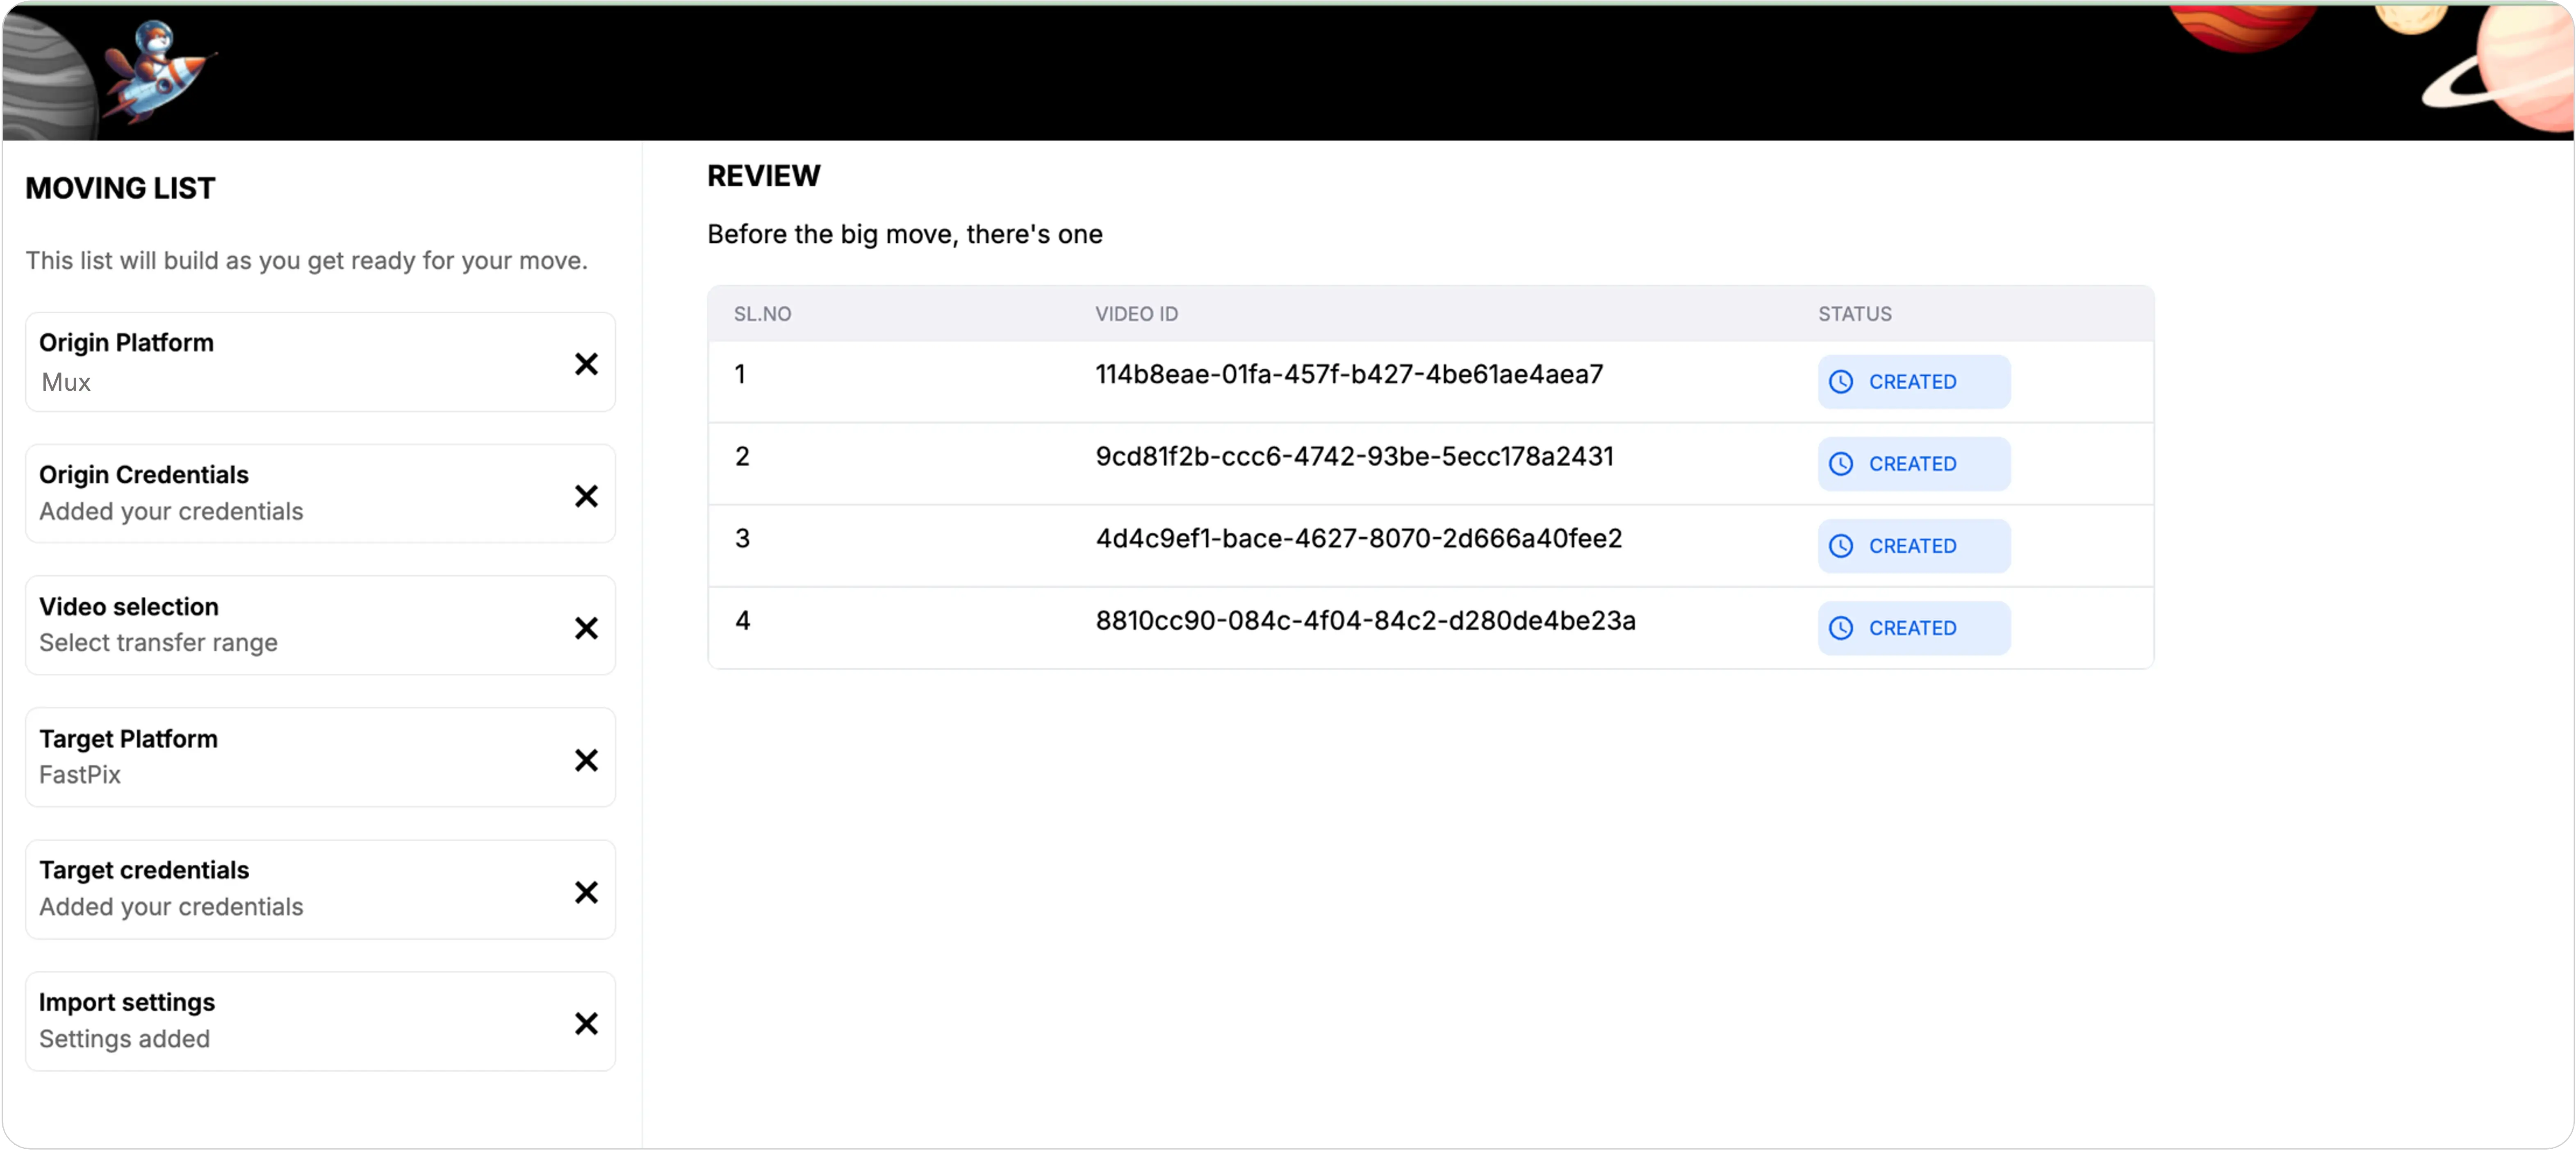
- Migration tracking
- Monitor the migration progress on the video tracking page.
- Wait for the list of migrated videos to appear on the tracking page.
Updated 4 months ago