Optimize audio loudness
Optimize audio loudness for consistent volume levels and improved listening experience.
Delivering a professional, enjoyable viewing experience means keeping your audio levels consistent across all video content. This guide walks you through the process of adjusting audio levels with audio optimization, a technique that balances the loudness of your audio streams for better viewer experience. Here, you'll find everything you need to know about audio optimization: what it is, when to use it, how to enable it, and the ideal target loudness levels to aim for.
Understanding audio optimization
Audio optimization adjusts the overall gain of an audio stream, giving you consistent loudness levels throughout. This technique ensures that your audio sounds uniform across different segments, so viewers enjoy a smooth, uninterrupted listening experience.
Key concepts
-
Loudness optimization: This step sets audio levels to a specific target, ensuring a uniform perceived volume across all segments.
-
LUFS (Loudness Units relative to Full Scale): LUFS is the standard measurement used to gauge an audio stream's loudness over its duration. It’s essential for achieving accurate optimization and balanced audio.
Before optimization
Audio levels might vary, causing an inconsistent listening experience with volume shifts.

After optimization
Audio levels are more balanced, providing a seamless and uniform listening experience.

When to use audio optimization
Audio optimization is ideal for creating smooth, enjoyable audio that stays consistent for your audience. Here are some scenarios where audio optimization can make a noticeable difference:
-
Inconsistent audio levels: When video or audio content has varying loudness, optimization smooths out these differences, making it easier for viewers to listen comfortably.
-
High-quality audio: To ensure that your audio quality remains high, optimization keeps loudness even across sections for a polished, professional finish.
-
Content compliance: If you’re creating content for broadcast or streaming, optimized audio helps you meet industry standards for loudness.
IMPORTANT CONSIDERATION
Keep in mind that audio optimization modifies your audio. Before using it, decide whether this feature aligns with your content's needs.
Enabling audio optimization
You can enable audio optimization only during the media creation process for on-demand content (not available for live streams). Follow these steps to turn on audio optimization:
-
Access the API endpoint: Use the create asset endpoint to start creating a video asset.
-
Set the optimization key: In your API request, set the
optimizeAudiokey to true to enable audio optimization. Here’s an example:
Example request body for Pull Video with audio optimization enabled:
{
  "inputs": [
    {
      "type": "video",
      "url": "https://static.fastpix.io/fp-sample-video.mp4"
    }
  ],
  "accessPolicy": "public",
  "optimizeAudio": true
}
Example request body for Push Video with audio optimization enabled:
{
  "corsOrigin": "*",
  "pushMediaSettings":
  {
  "accessPolicy": "public",
  "optimizeAudio": true
  }
}
API reference links:
Create media (from URL) — full API reference and examples: Create media
Direct upload (from device) — direct upload API reference and examples: Direct upload video media
NOTE
After you've created a media asset, audio optimization settings can't be modified.
How to Optimize Audio Loudness from the Dashboard
- Open the FastPix Dashboard > Products > Media > Add new media.
- Choose Pull Video (URL) or Push Video (direct upload).
- For new uploads:
- For Pull Video, use the example in Request body creating new media from URL.
- For Push Video, use the example in Request body creating new media by direct upload.
- In your request body, include
"optimizeAudio": trueso that FastPix applies the loudness-optimization process during video ingest.
- For existing media, follow this process to optimize loudness:
- Open Media and copy the Media ID of the video you want to optimize.
- Click Add new media > Pull Video.
- Use this request body:
{
"inputs": [
  {
    "type": "video",
    "url": "fp_mediaId://{Media_ID}"
  }
],
"accessPolicy": "public",
"optimizeAudio": true
}- In the request, replace
{Media_ID}with your existing media ID. - This creates a new media entry with optimized audio loudness.
- After processing is complete, the optimized media appears in your Media list as a new item.
Webhook event for status
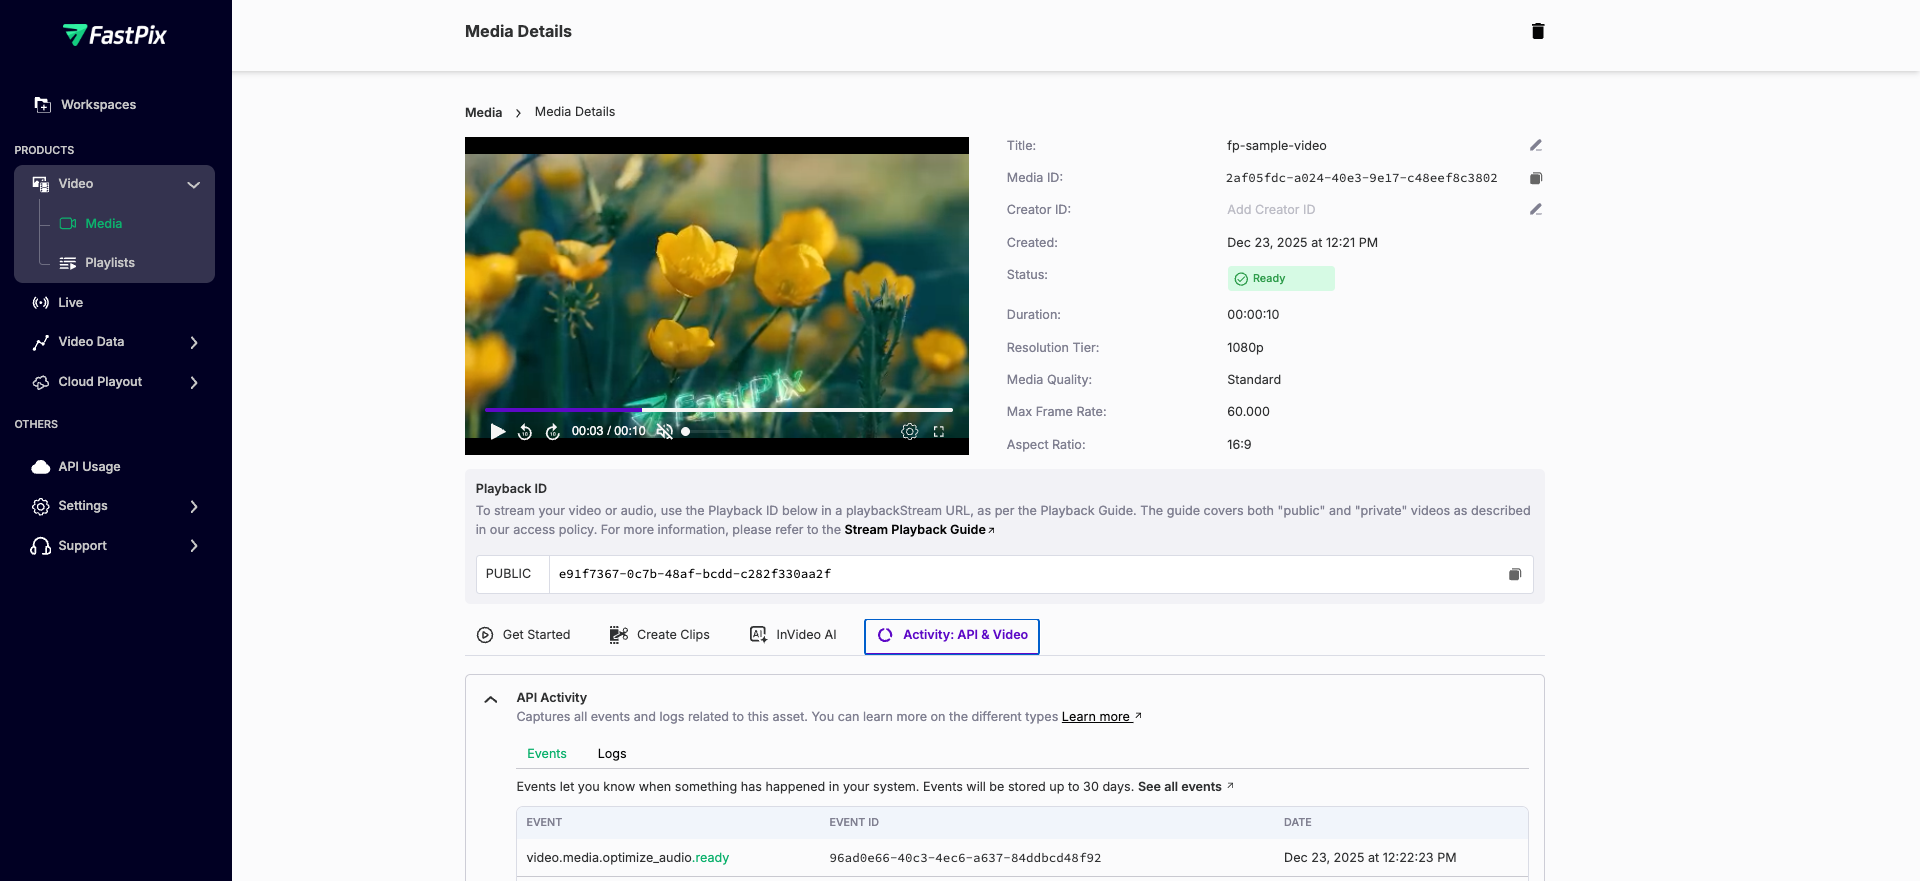
When you request audio optimization by setting optimizeAudio: true, FastPix processes the audio enhancement in the background. After the optimization is complete, FastPix triggers a video.media.optimize_audio.ready webhook event to notify you that the optimized audio is ready.

Target loudness standards
We recommend a target loudness value of –23 LUFS. This is also a set standard in our system. This standard helps maintain a consistent and balanced loudness level across all your audio streams, ensuring a uniform listening experience for your audience.
Target Value: –23 LUFS
RECOMMENDATION
To get the best results, try mastering your audio content to this target level.
Updated about 2 months ago