
Monitor and manage channel
Activate, monitor, and manage live channels with real-time control room and simulcasting.
Once your channel is programmed with media, live events, and bumpers, you're ready for the final step: scheduling it to go live and monitoring its broadcast in real time.
Whether you're running a 24/7 music loop or a precisely timed OTT schedule, FastPix makes it easy to activate, track, and control your playout channel - all from the same interface.
Step 1: Schedule view
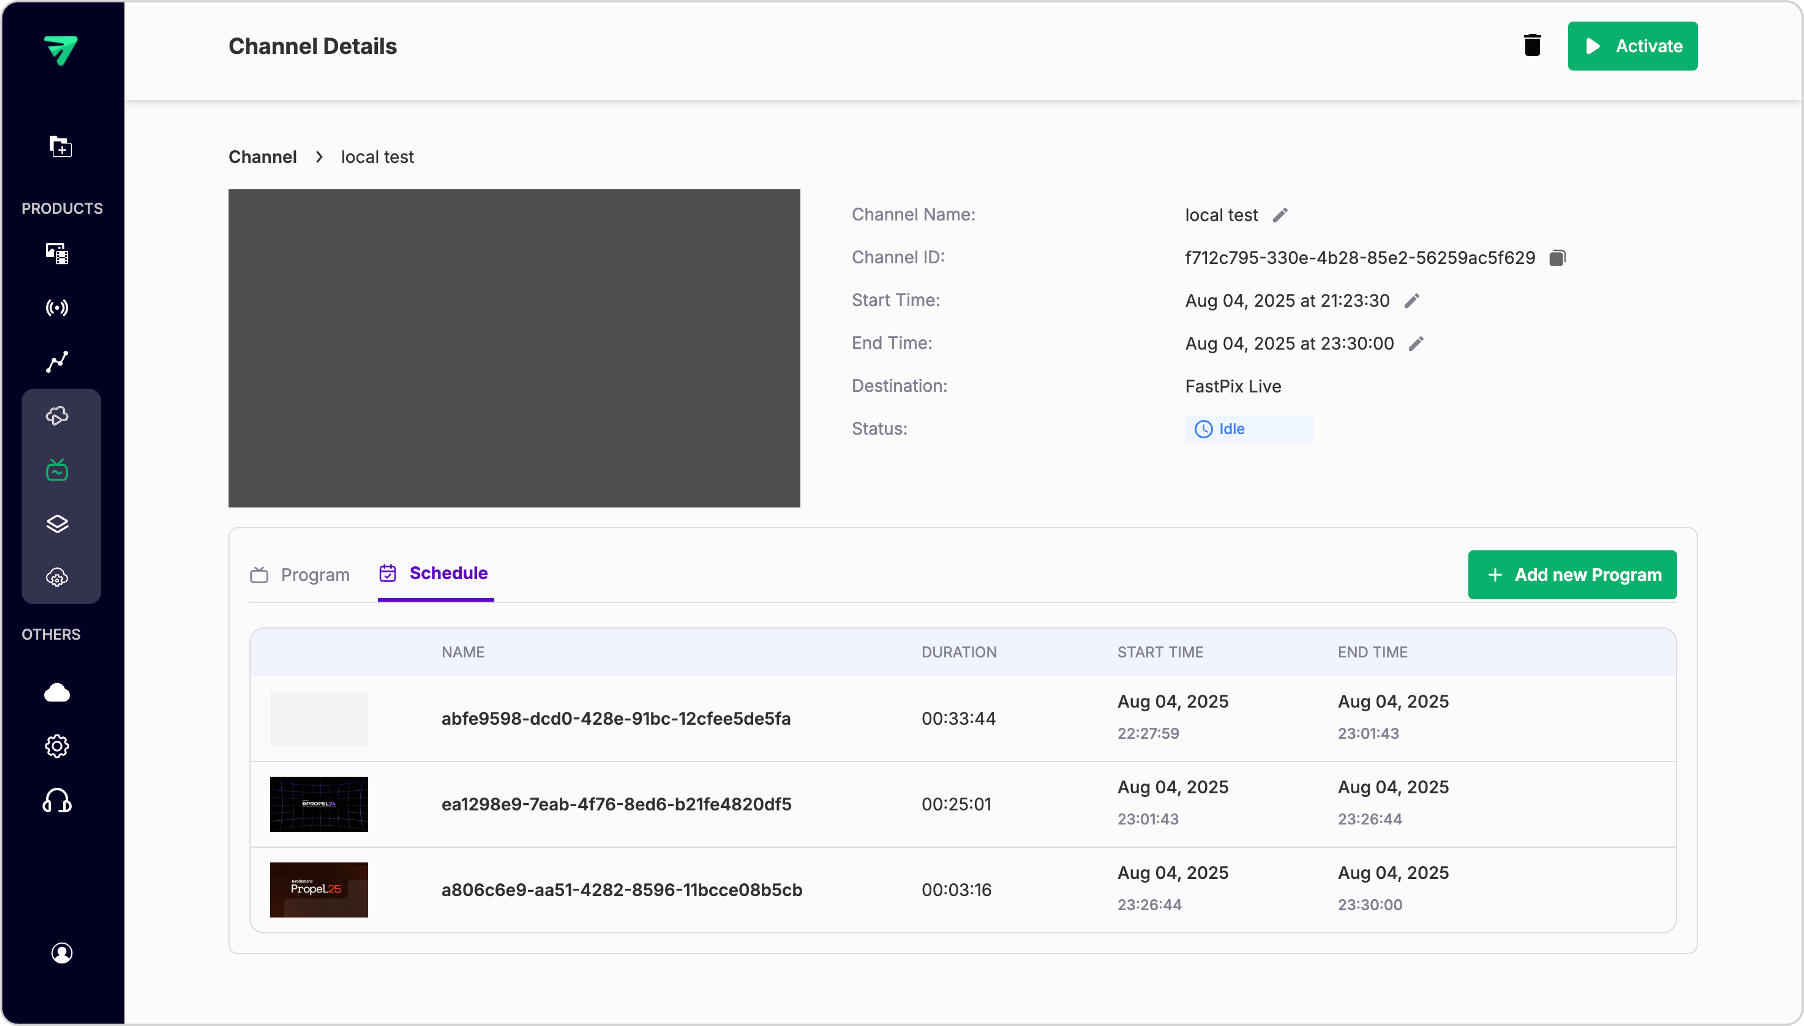
Head to your channel’s page on the dashboard. You’ll land on the Schedule tab, which shows a rolling 3-hour timeline of what’s coming up next on the channel.
This view lets you confirm:
- What’s currently playing (or about to play)
- What’s scheduled after that
- Start and end time of each media, bumper, or live event
- Segments, if they’ve been defined
If you’re working with a Loop Channel, the timeline simply repeats the sequence of programs you added. For a Scheduled Channel, you’ll see a precise lineup based on your calendar programming.
This timeline is read-only - it’s meant for confidence viewing before launch. Edits must be made from the programming sections.
Step 2: Activate your channel
Once everything looks good, you can go live. Click the Activate button from your channel’s main page. This will start the playout engine and prep your channel for streaming.
IMPORTANT
Channels must be activated at least 10 minutes before the scheduled start time. If you try to activate it too close to the start, you’ll get an error.
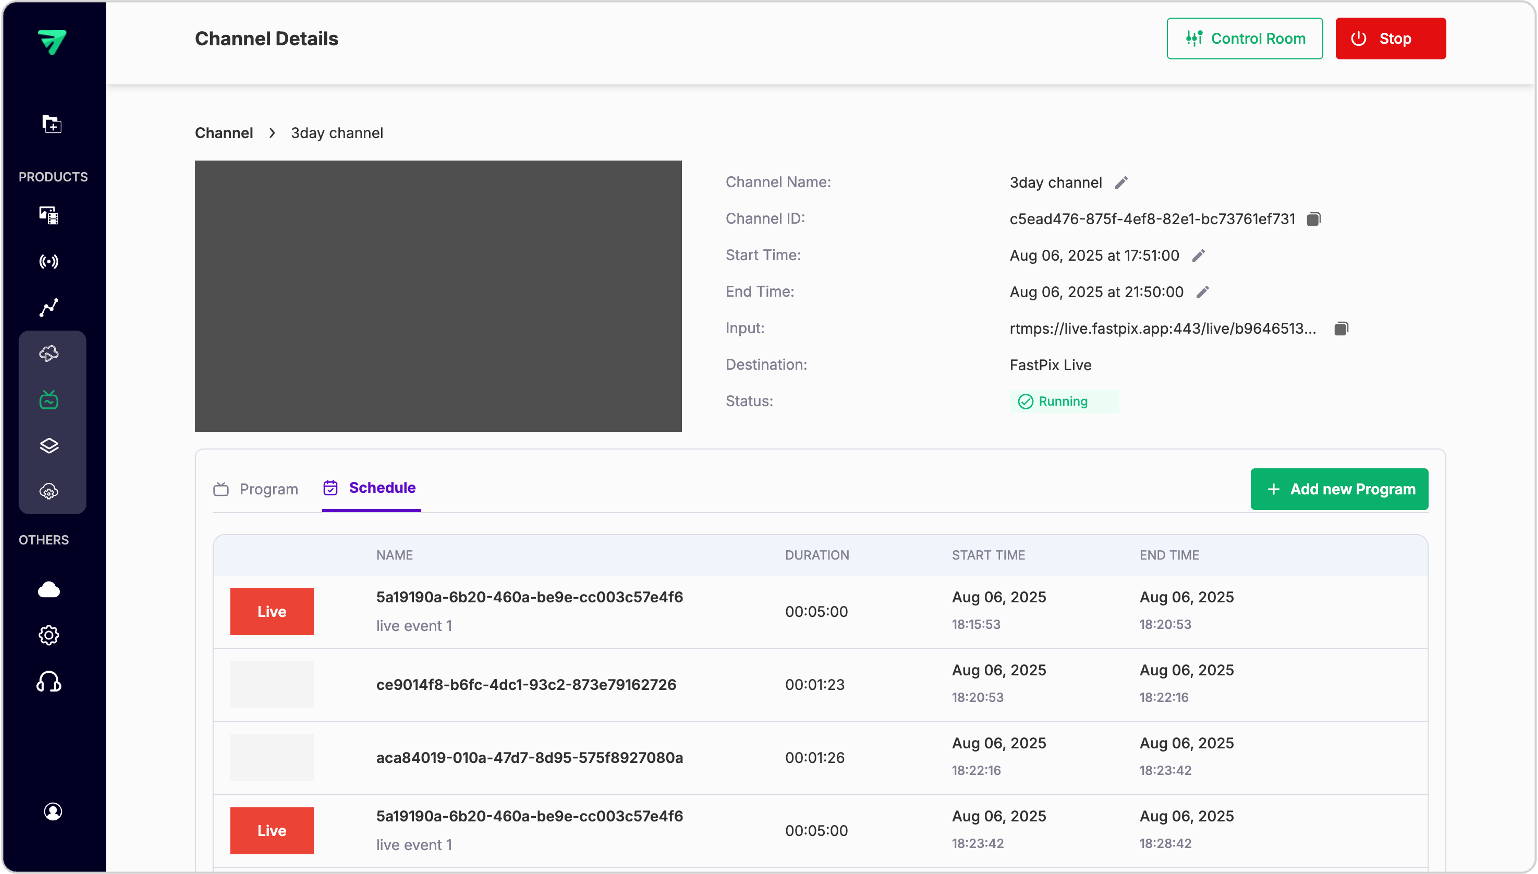
Once activated, your channel will move through a few internal statuses:
- Draft → Initial state after creation
- Scheduled → After activation; waiting for start time
- Starting → In pre-roll; FastPix is spinning up the backend
- Running → Channel is actively broadcasting content
You can track this status directly from the channel list view or from the channel’s detail page.
Step 3: Open the control room
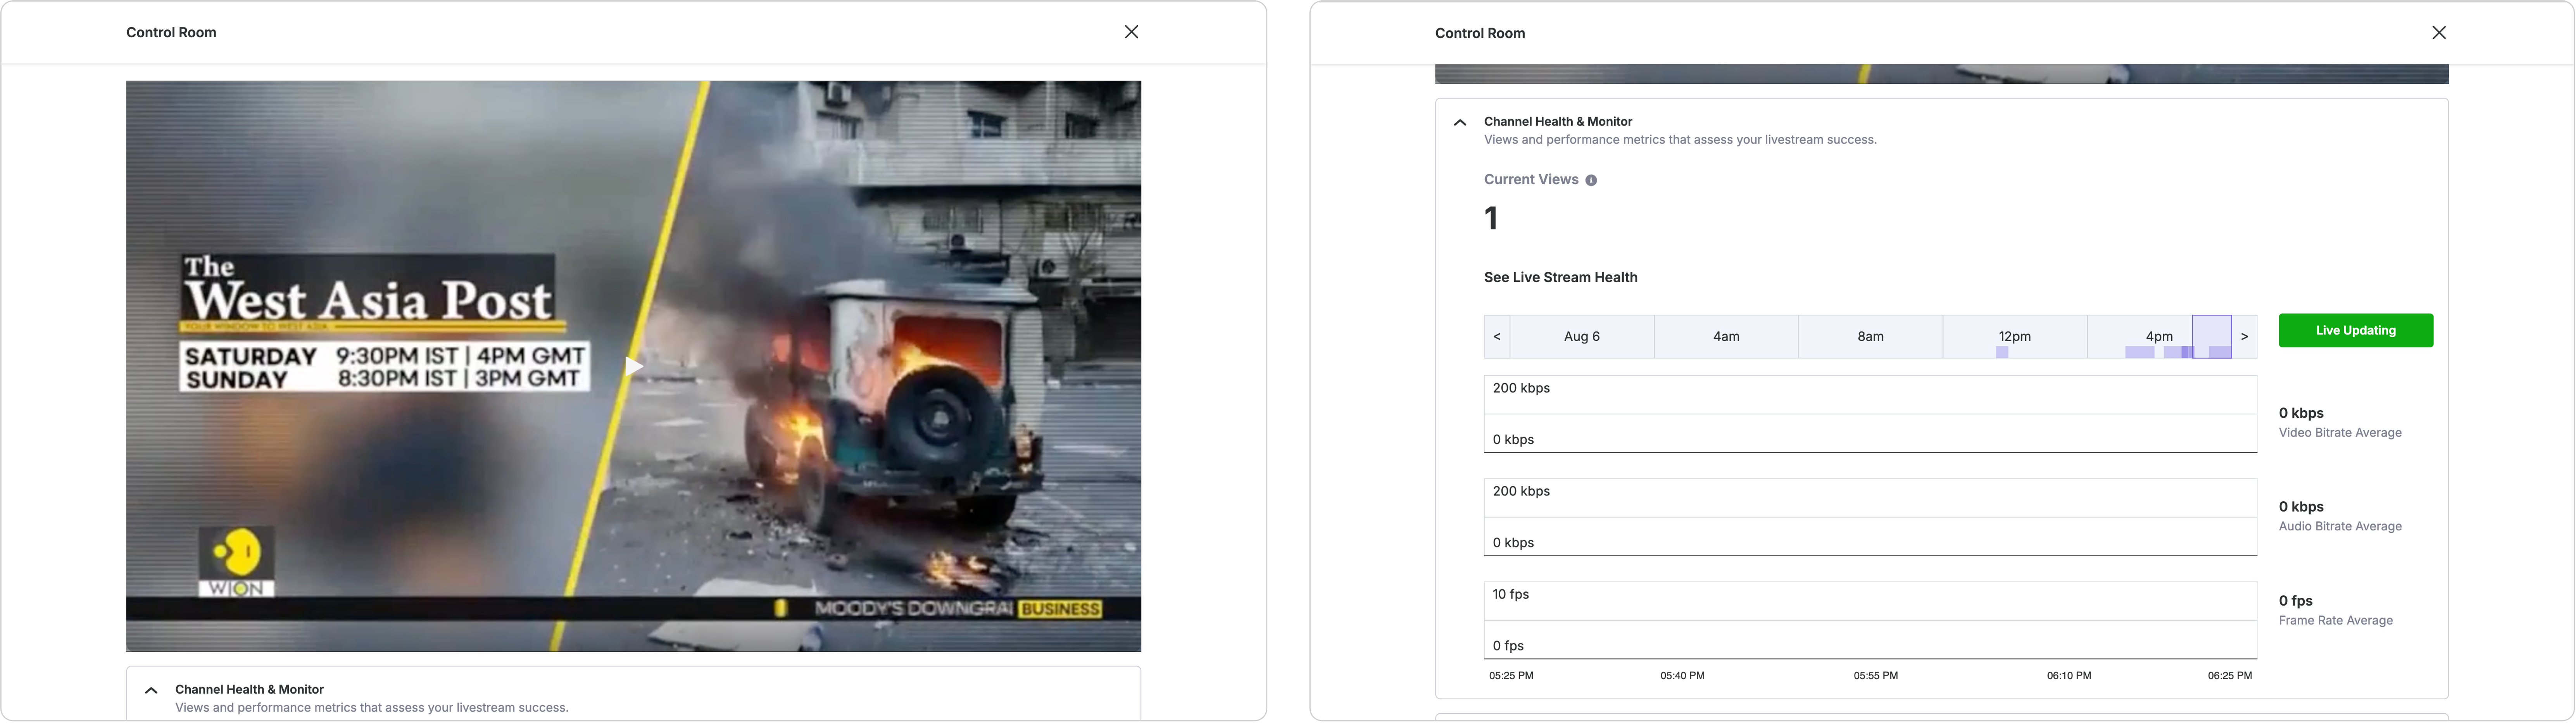
Once your channel hits “Running” status, you’ll see a new tab on the channel page: Control Room.
Click it to open a live monitoring dashboard that shows:
- The video currently playing (real-time player)
- Input stream health (especially for live events)
- Viewer concurrency metrics (how many people are watching)
- Any playback warnings or sync issues
This is your mission control. It gives you full visibility into what your audience is seeing - and whether everything is functioning smoothly.
Step 4: Set up simulcasting (optional)
If you want to broadcast your channel to multiple destinations at once, FastPix lets you simulcast your live channel to external platforms like:
- YouTube Live
- Twitch
- Facebook Live
- Any custom RTMP endpoint
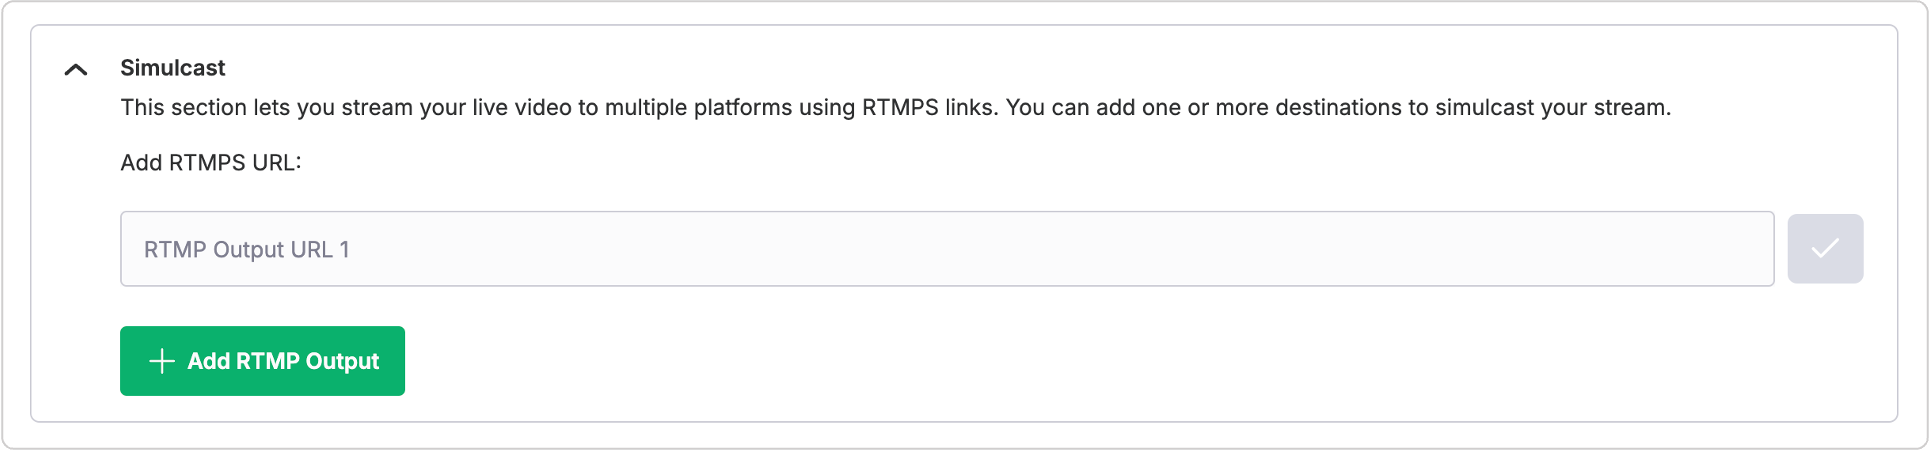
In the Control Room, scroll to the Simulcasting section. Here’s how to set it up:
- Add the RTMP Server URL of your destination (e.g., rtmp://youtube.com/live)
- Enter the Stream Key provided by the platform
- Click Submit
FastPix will begin pushing your live feed to that destination immediately, without interrupting the primary stream. You can add multiple simulcast outputs if needed. Each will broadcast the exact same playout feed, with all overlays, bumpers, and schedules intact.
What’s next?
With your channel running and broadcasting, you’ve completed the full playout pipeline - from upload to live streaming.
-
If you want to make edits, you can stop the channel, switch back to Draft mode (it will show idle), and modify media, timing, or bumpers as needed.
-
Need to insert a breaking live event? You can queue it inside the program (for loop channels) or directly into the schedule (for scheduled channels) after a 10 minute window from the current time.
Your next step might be performance tracking, error alerting, or automating parts of your schedule - but for now, your channel is live, monitored, and reaching viewers wherever they are.
Updated 7 months ago